
On Sunday I posted a tutorial on a technique I use when drawing mountains. This tutorial focused on a specific set of techniques used to cause a frighteningly boring mountain range — in this case, several parallel ‘ranges’ that were completely straight, uniformly straight, and parallel. They demonstrated how to take
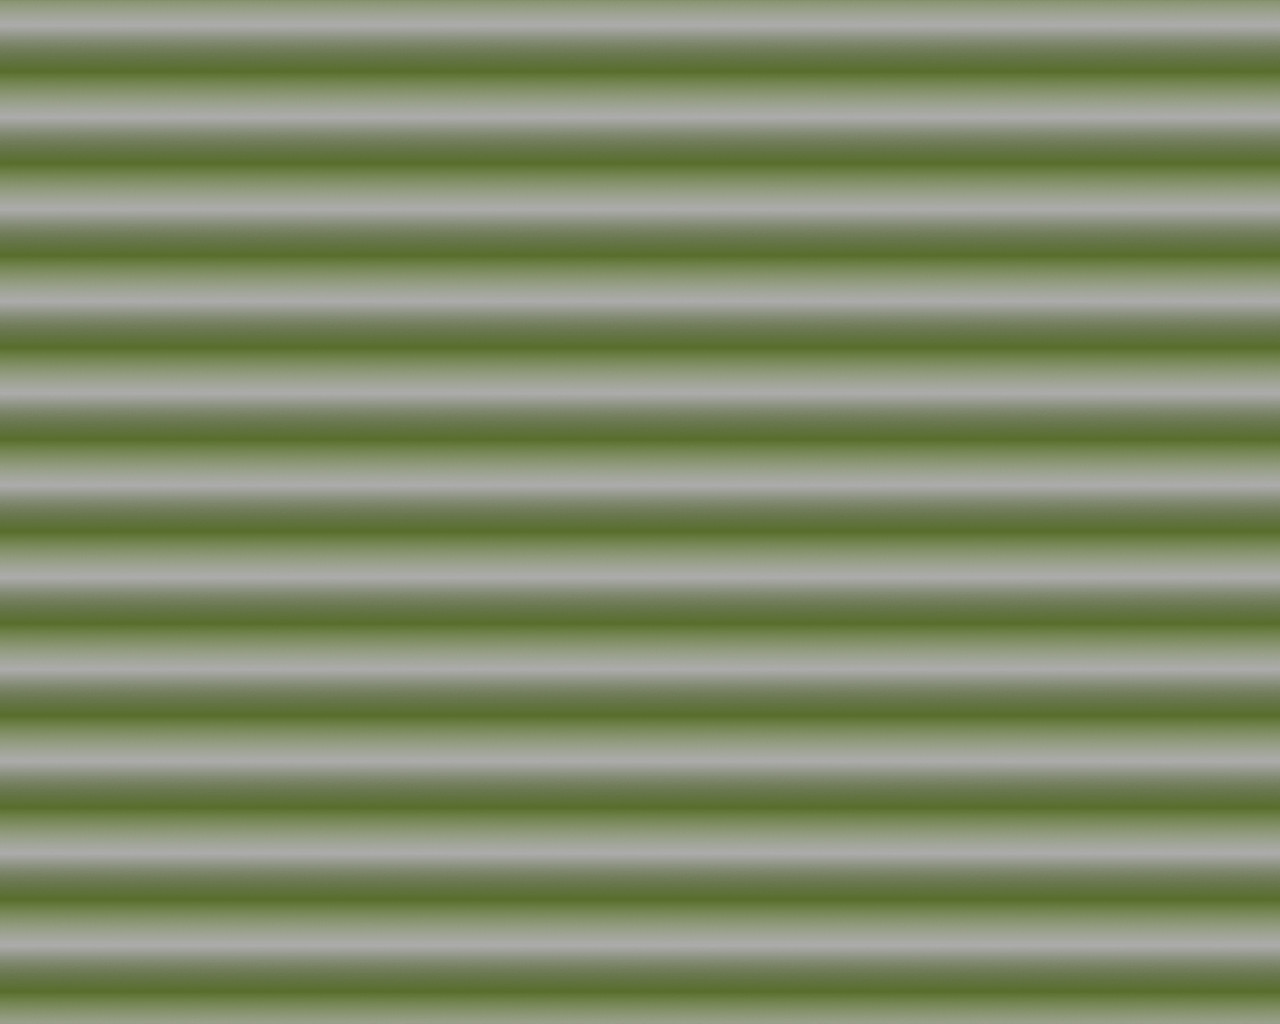
and turn them into something like
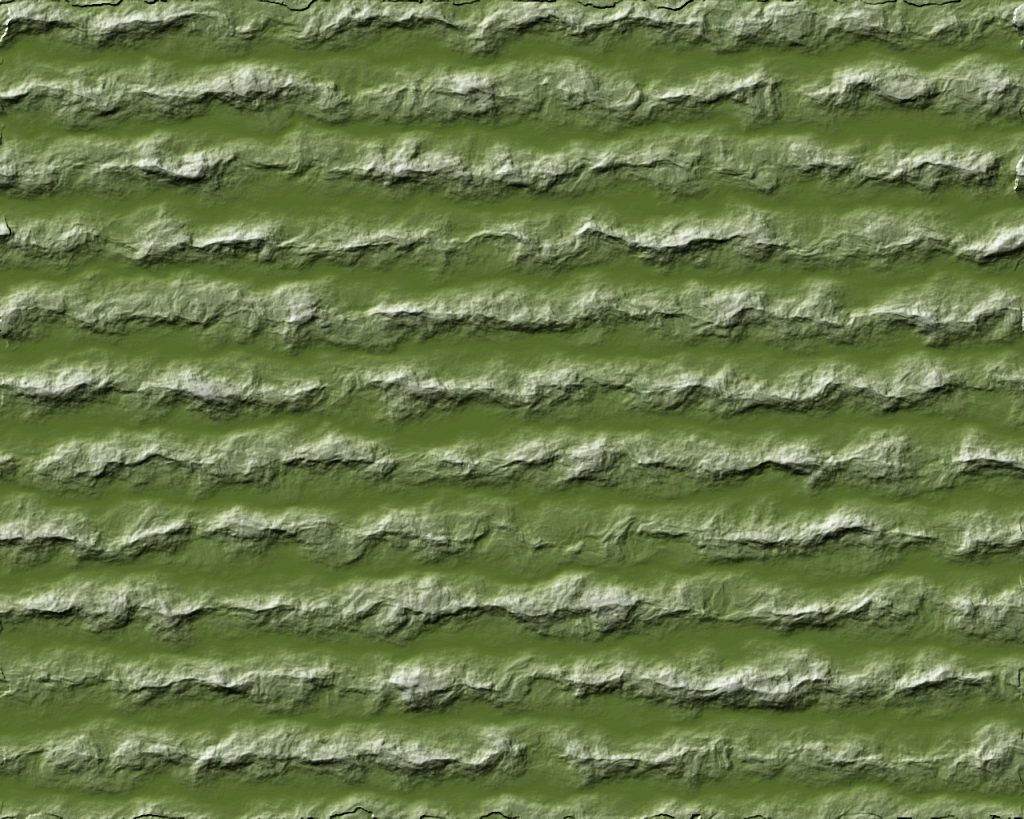
quickly and easily, using a few simple techniques.
Because the techniques were focusing on how to change uniform height and smooth curves into something organic, I started with the simplest possible ranges. When I draw maps I have several other steps to the process, before and after.
In this post I’ll demonstrate how I build the initial landforms, the regions that will become my mountain ranges.
I will phrase everything in the imperative as I describe what I’m doing. This isn’t the only way to do it, but it’s the way I’m demonstrating today. Take from it what you will :)
It is not always evident on the displayed image what it is I am trying to show. In each example below the presented image is linked to the full resolution image. Clicking on the image presented here will take you to that full image.
Setup
Setup is the same as in the previous tutorial. For consistency I’ll be using the same colors as before, and the same image size (1280×1024).
Colors
I used five colors in creating these images.
- black (0x000000)
- white (0xFFFFFF)
- medium grey (0x808080)
- medium green (0x586E2C)
- light grey (0xADADAD)
Normally I’d probably work with a more complex color gradient (introducing some brown), but for what I’m demonstrating today this should be sufficient.
Create Image
Create a new image, 1280×1024 pixels, and give it a green background (I used color 0x586E2C).
Create three noise layers using maximum detail (15), X-size (16) and Y-size (16). Call them ‘noise-x’, ‘noise-y’, and ‘noise-z’. You will use noise-x and noise-y for displacement mapping, and noise-z for all height map manipulation.
You’ll be moving them around from time to time, but for now place them behind the green ‘background’ layer.
Single Mountain Range
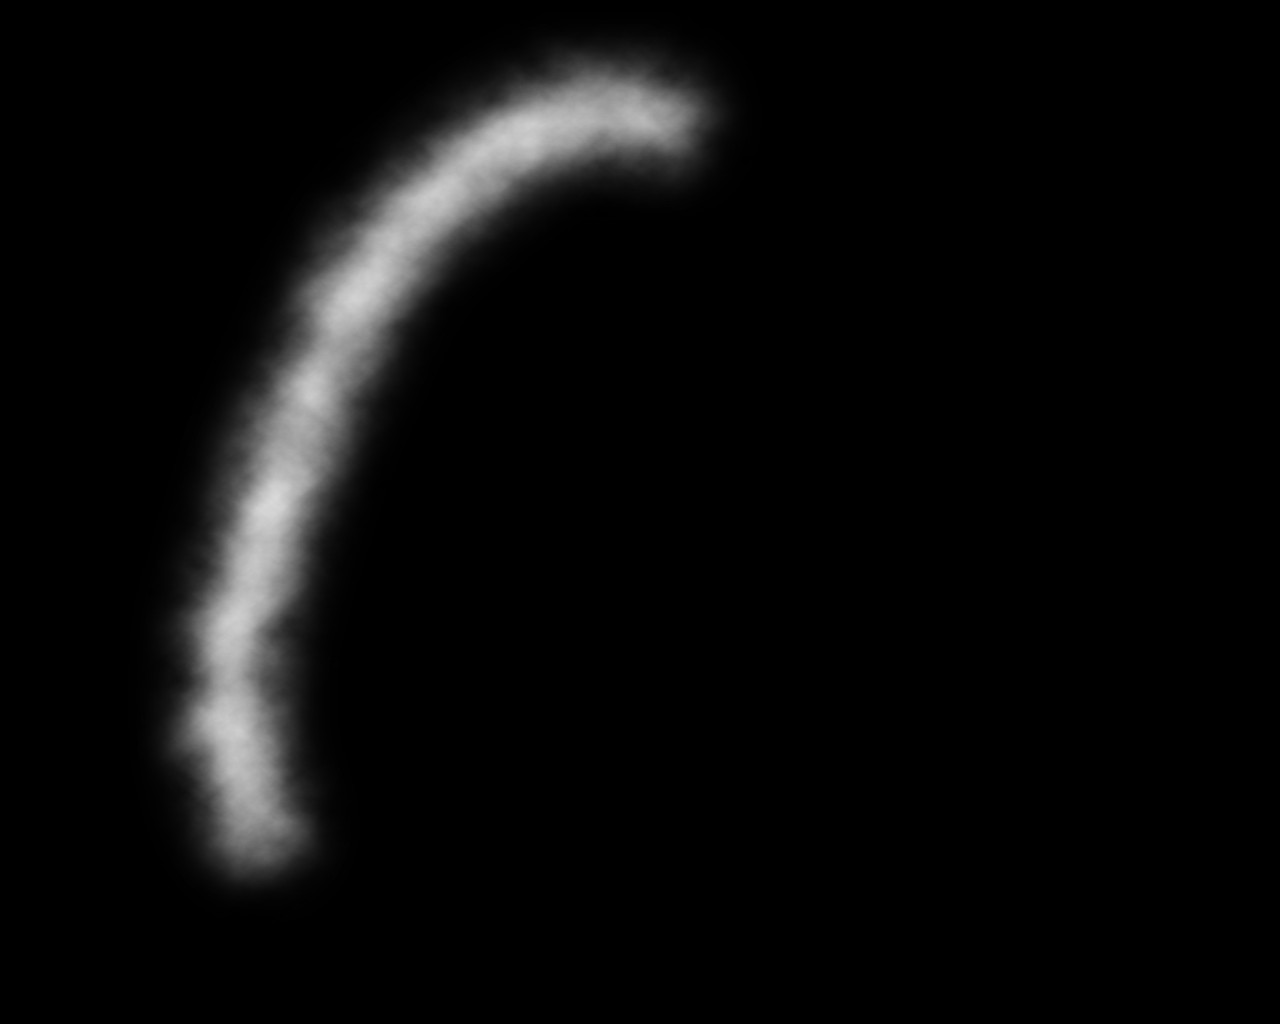
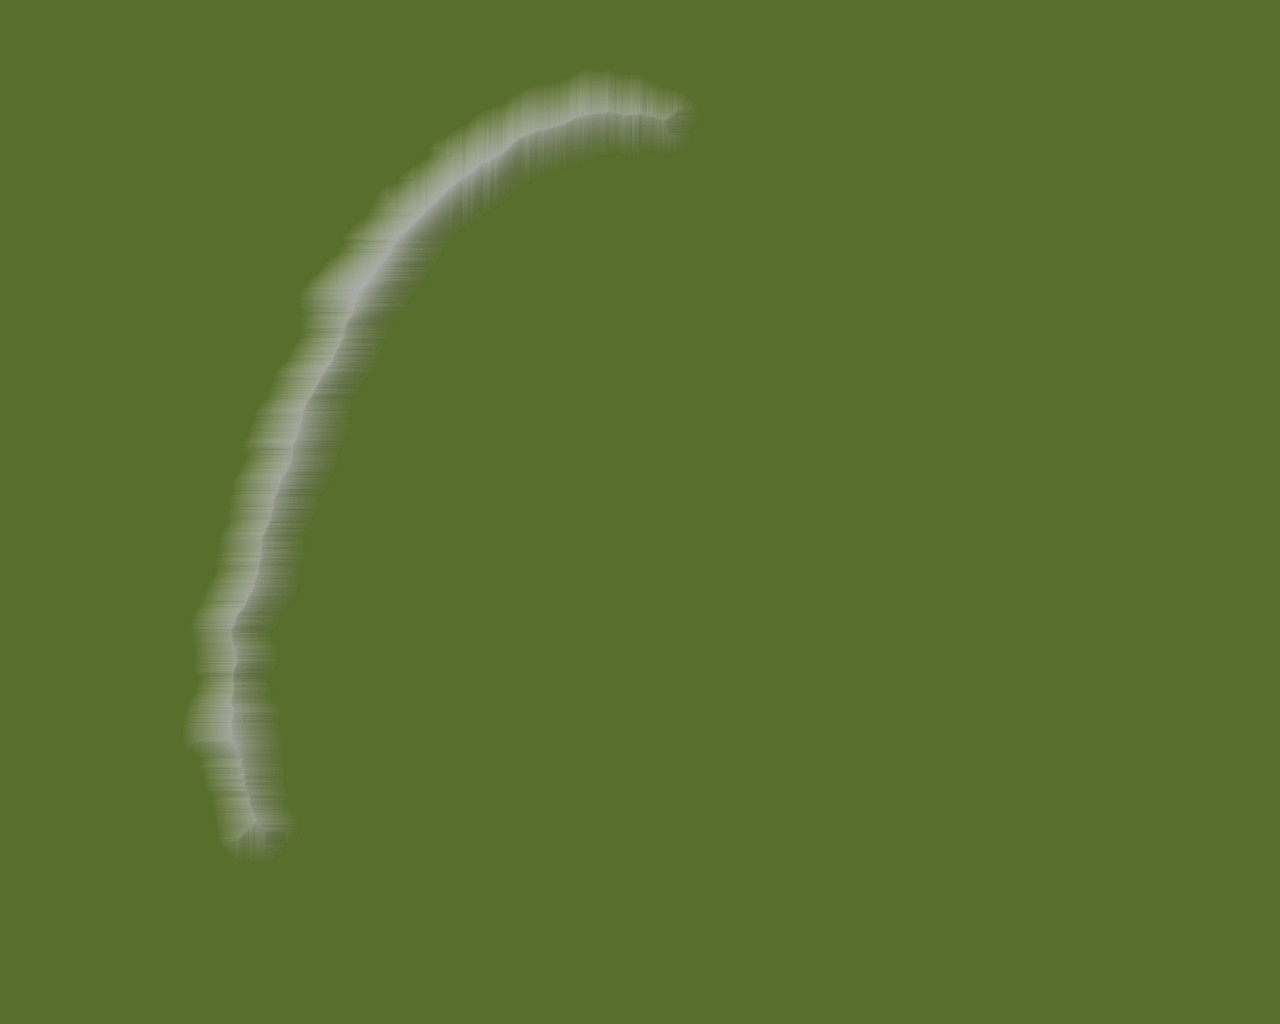
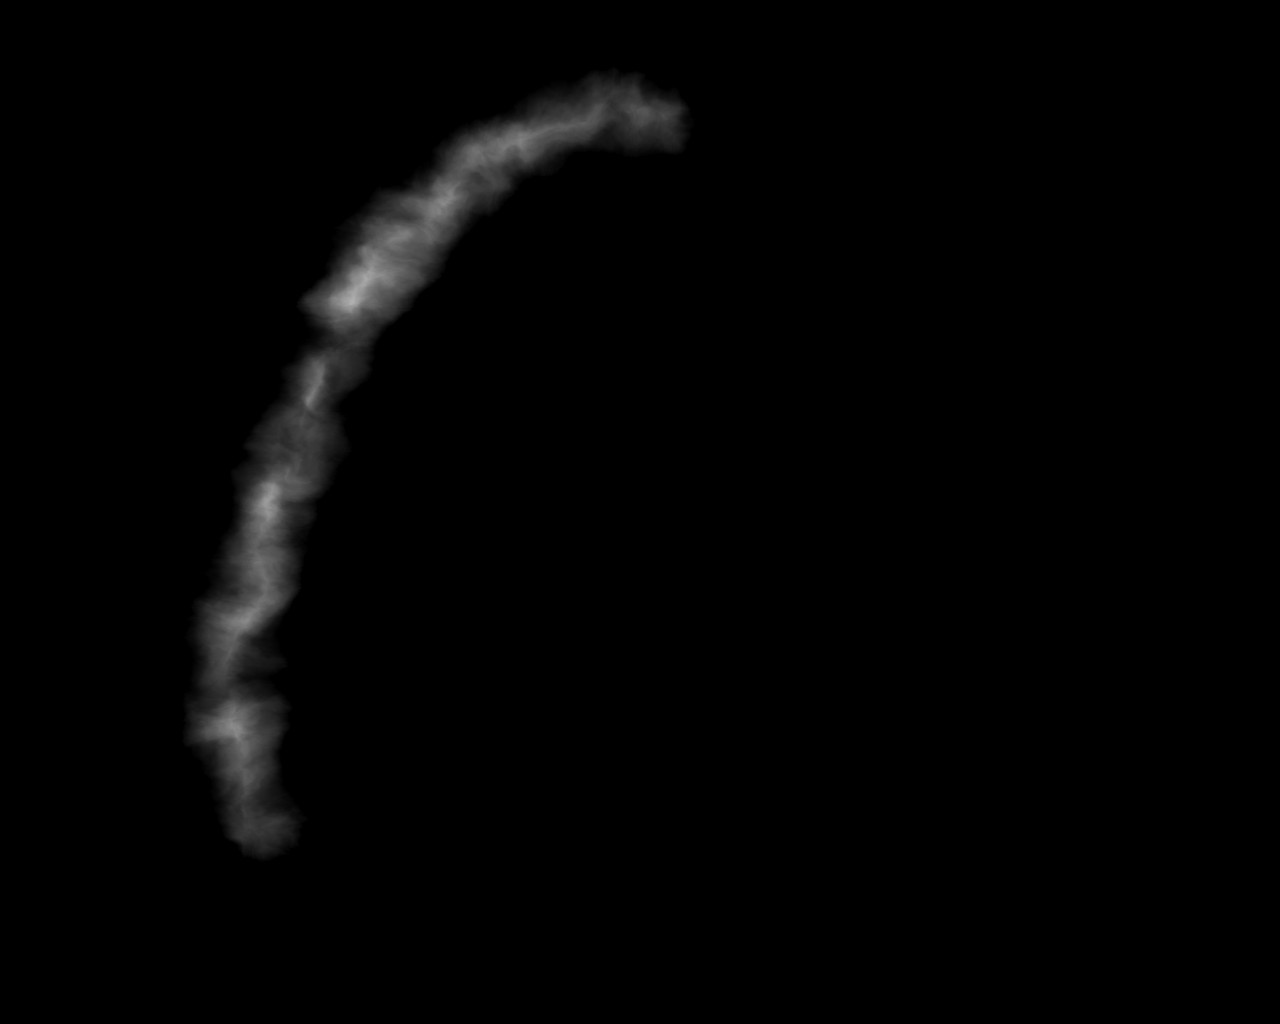
Start with a single mountain range. Add a black layer on top of the background layer and name it ‘range 1 base’. Set your pencil to hardness 100 and size 60, and draw a roughly curved line, as shown below (note: using a mouse is not as nice as using a tablet and stylus. Just sayin’)

The next step is destructive, and I’ll want this again for a later step in the tutorial, so duplicate the layer.
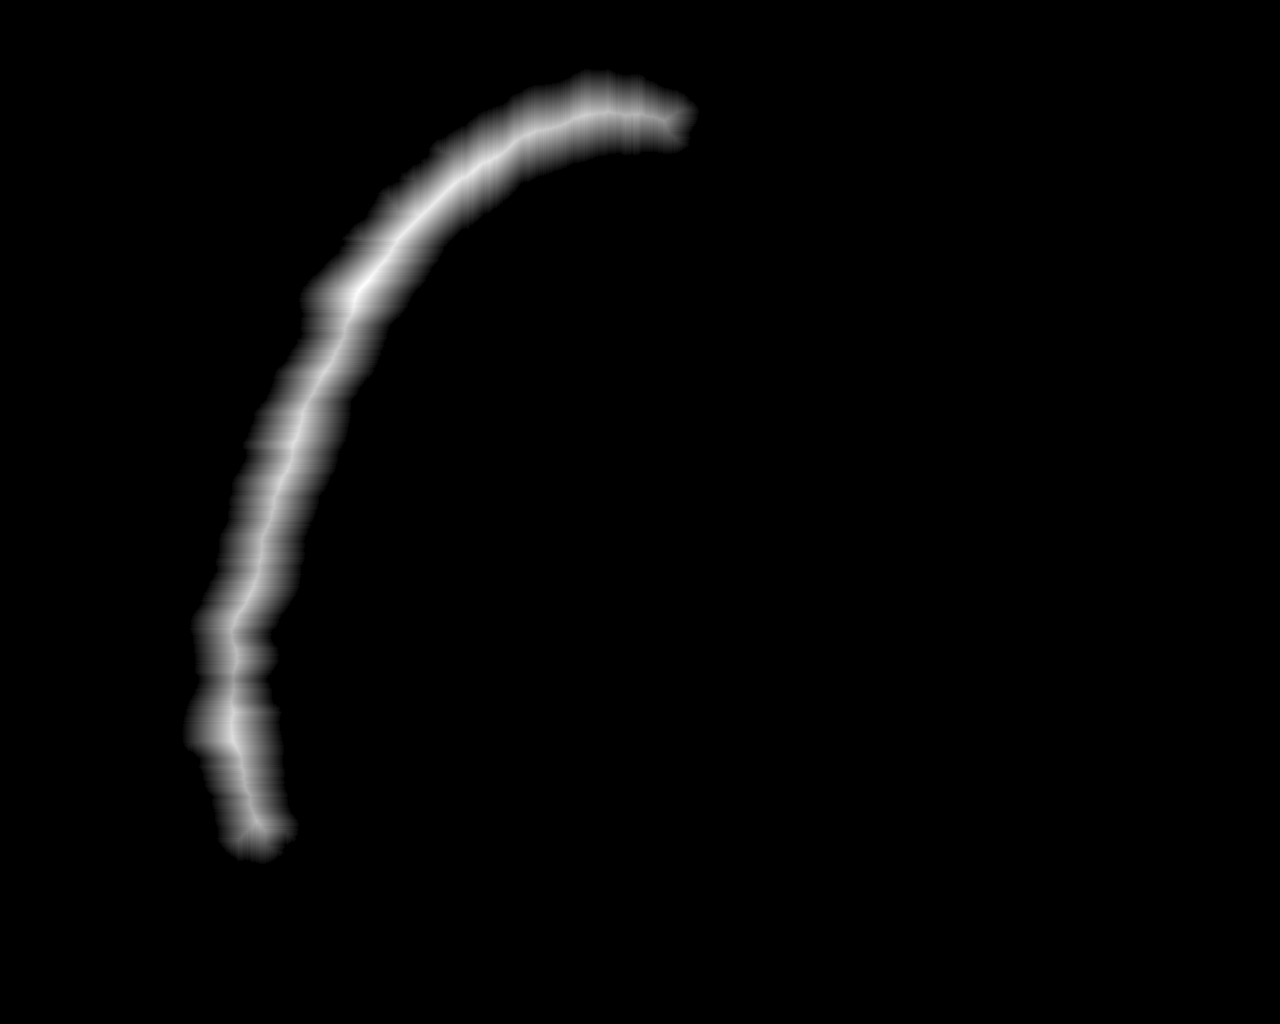
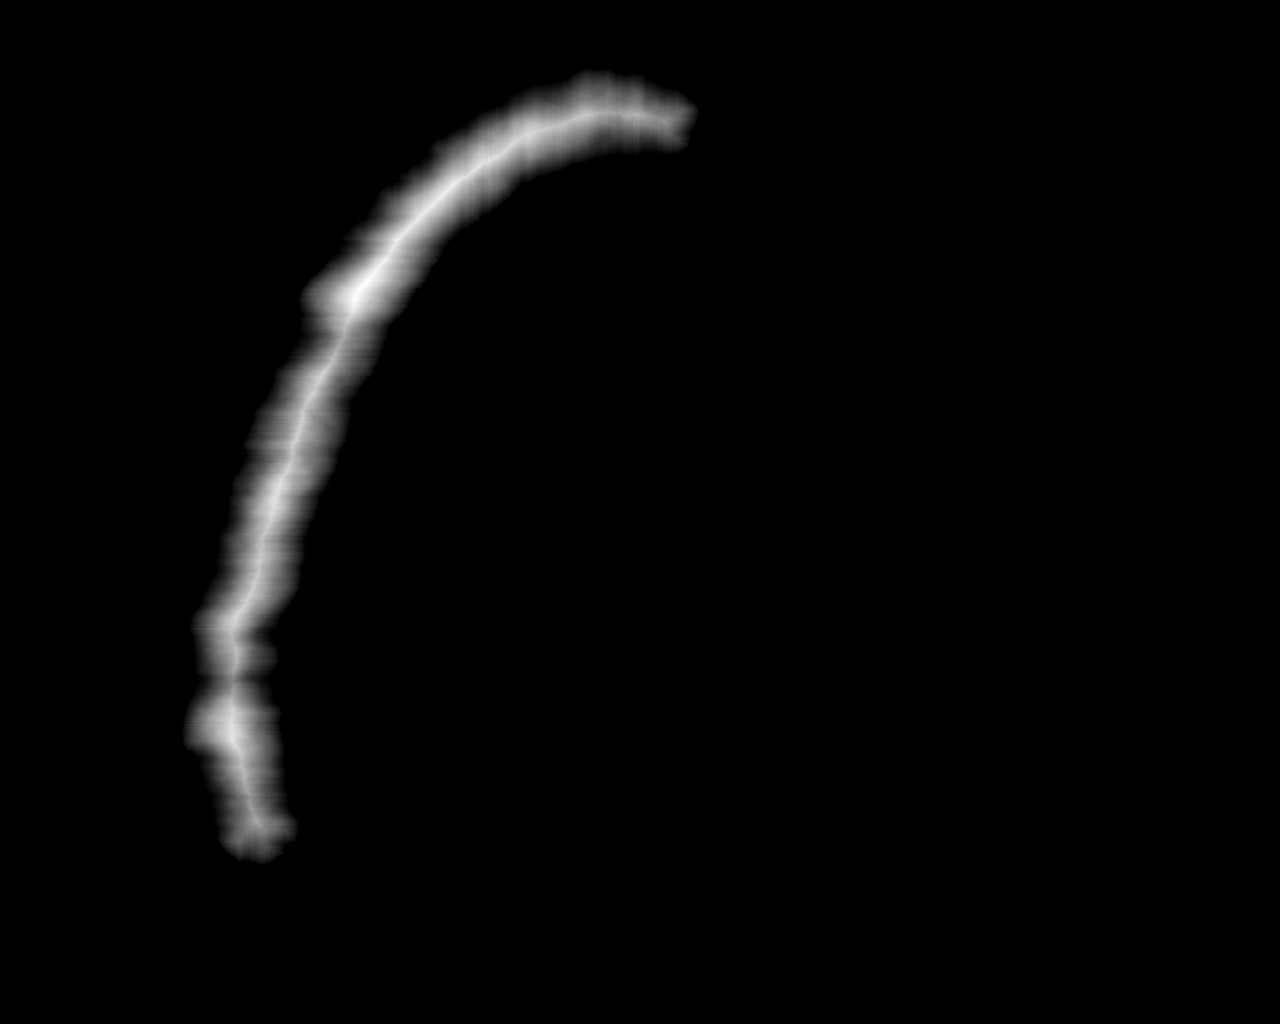
With the new layer selected, apply a Gaussian blur with radius 91.

Now, move the noise-z layer on top of the Gaussian-noise layer (GIMP called it ‘range 1 base copy’) and set the noise-z layer to ‘overlay’ blend mode. You will see a somewhat mottled shape covering where you drew the base range.
With the ‘Select by Color’ tool (in GIMP, the blue-green-red-boxes-with-the-finger-touching it tool), turn off anti-aliasing and turn on sample merged, then click on one of the bright spots in the range and drag until the selected area is approximately what you want for your landform shape. Save the selection to channel (Select -> Save to Channel), and name the channel ‘range 1 base’.
Create a new black layer on top of all the other layers. Go to your list of channels and select ‘range 1 base’, then ‘channel to selection’. This will give you the initial selection.
Using the gradient tool (with white as your foreground color and black as your background color), select the ‘shaped (angular)’ shape, then on the new layer click and drag with your mouse. GIMP will then fill the selection with an angular gradient as shown below
Let’s see what this looks like. Do a quick render (select none, duplicate layer, color map, add grey layer overlay, bump map).
Some wicked artifacting (the horizontal and vertical lines), but that is to be expected. We’re not done yet.
Move noise-z to the top again (in overlay or multiply blend mode; I show both below and I’m using multiply for the following steps).

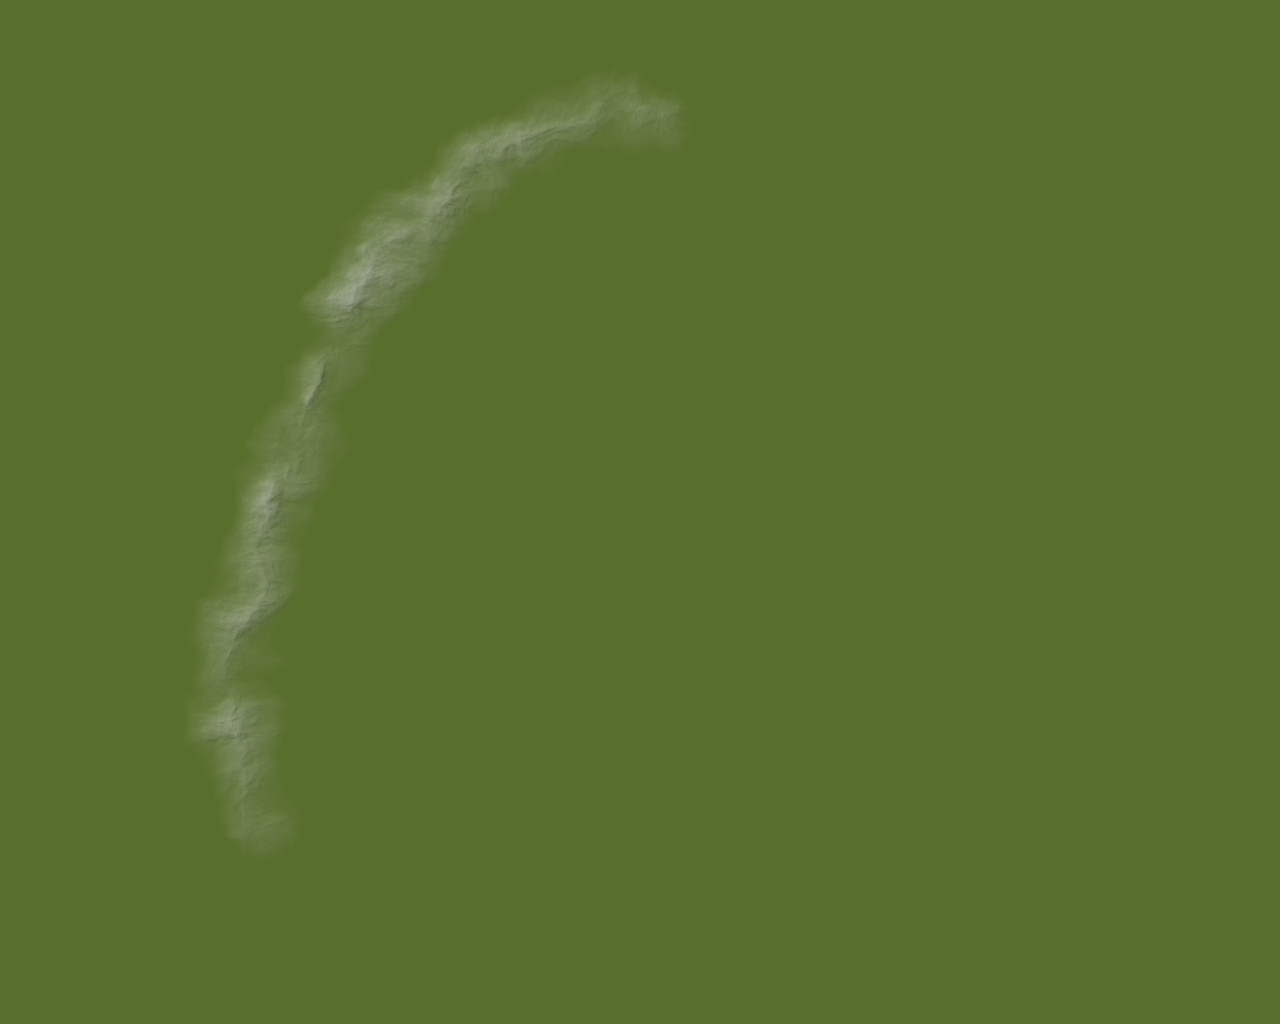
Then create a new layer ‘from visible’. Do a quick color render with bump mapping.

Looks pretty okay, but it doesn’t really pop… but I want to highlight some artifacting. I’ve quadrupled the bump map layer below.
The ridge line is still present, we’ve got some distinct peaks, but the horizontal and vertical lines still stand out strongly. Let’s do something about that.
Get rid of the quick rendering, go back to the height map. We’re going to add a bit of displacement (Filter -> Map -> Displace…) to tweak things a bit.
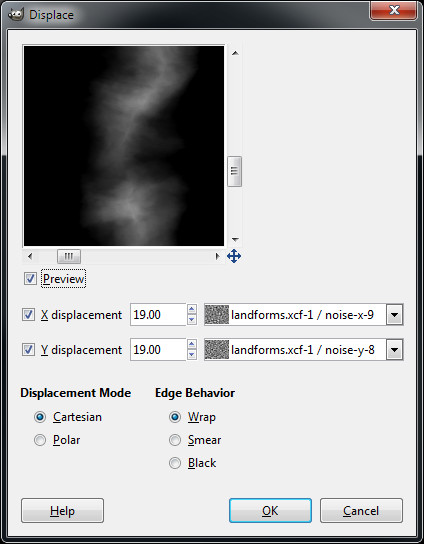
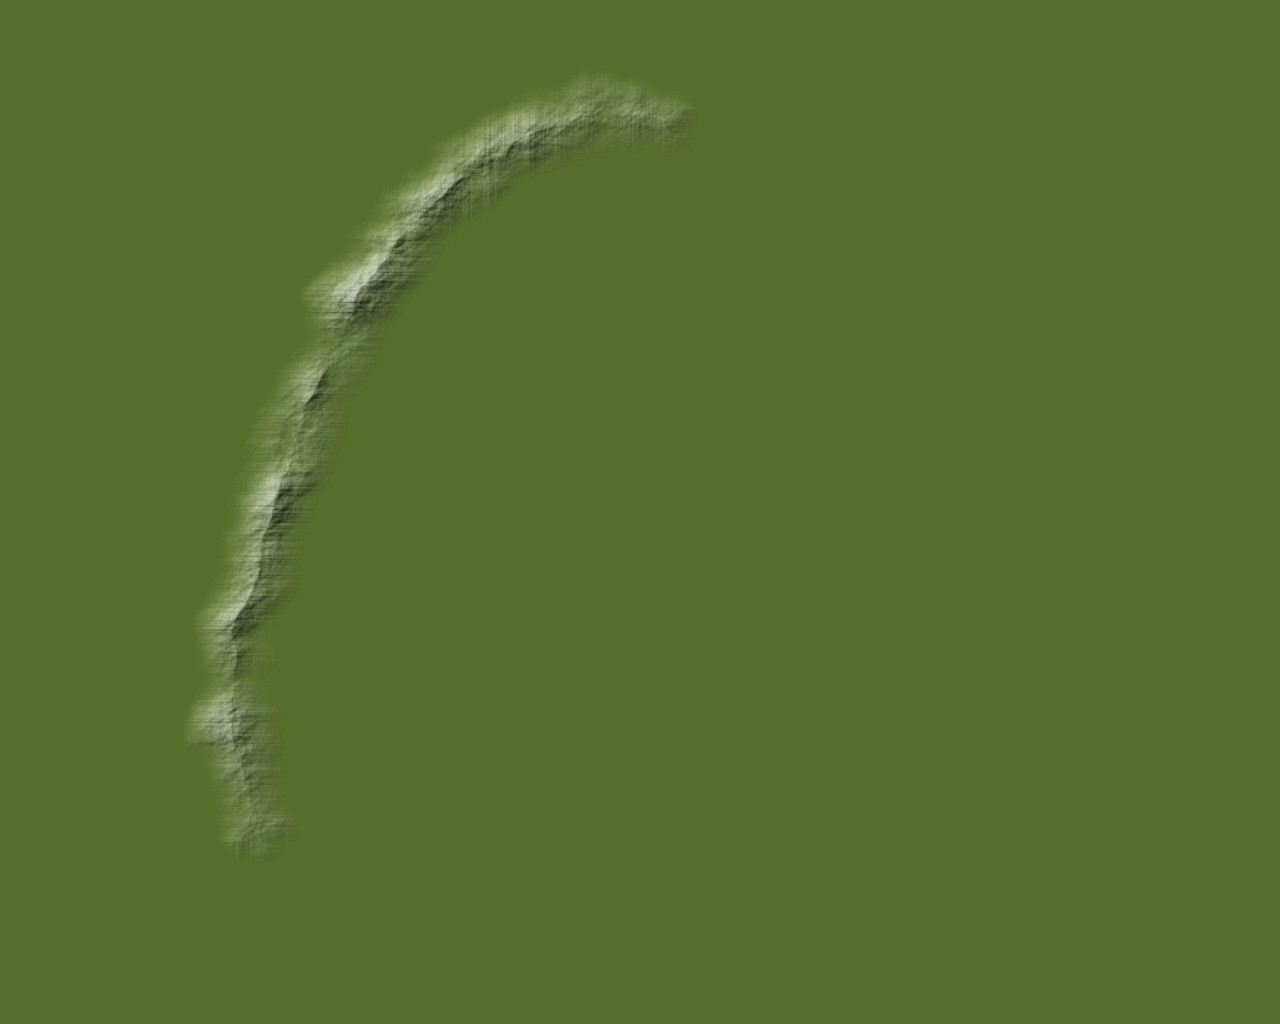
This gets us to
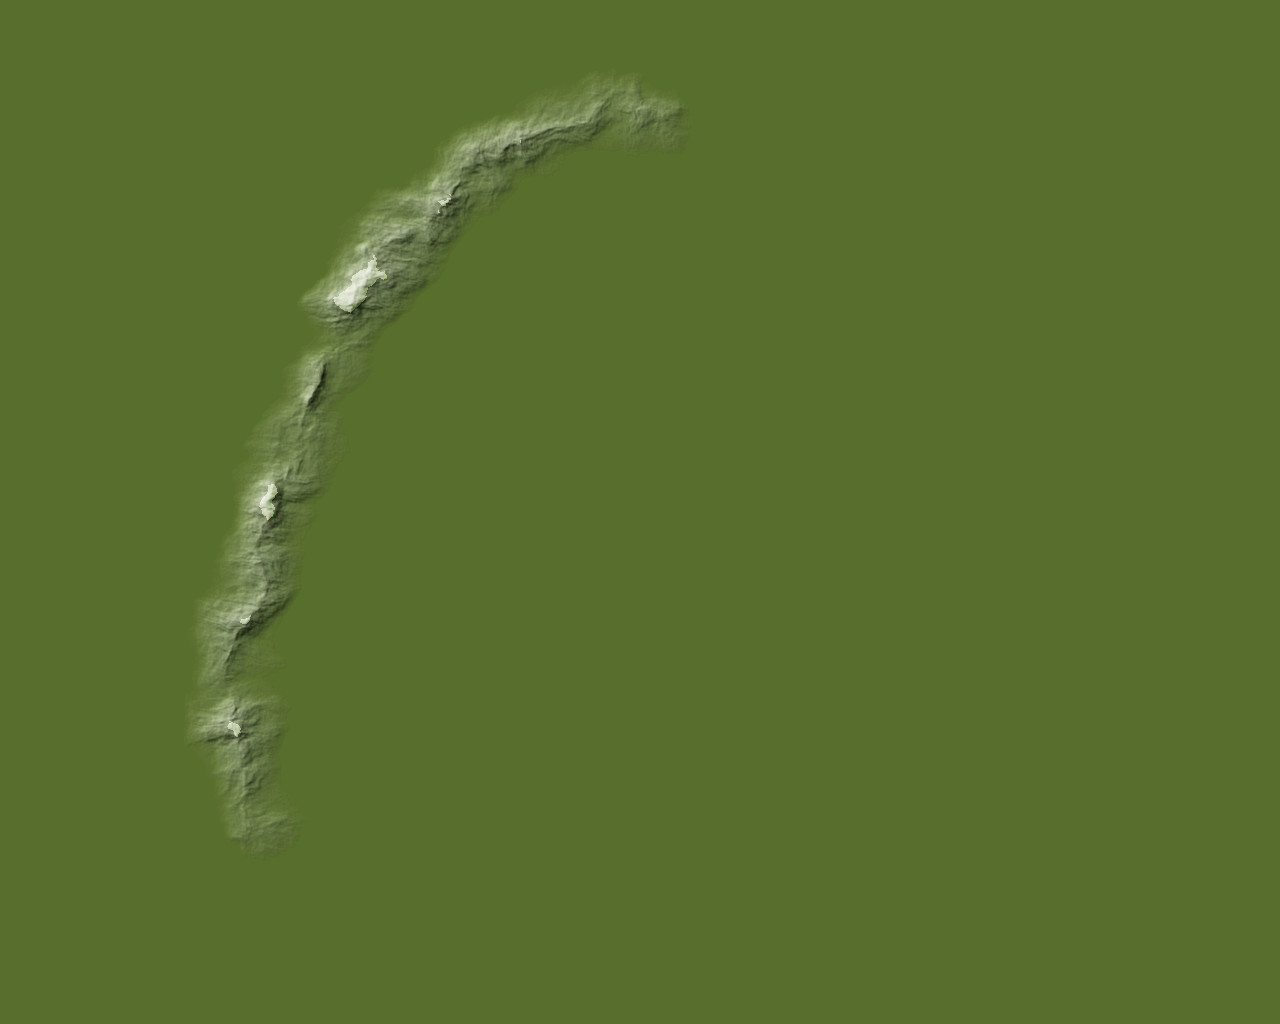
Give it a quick render
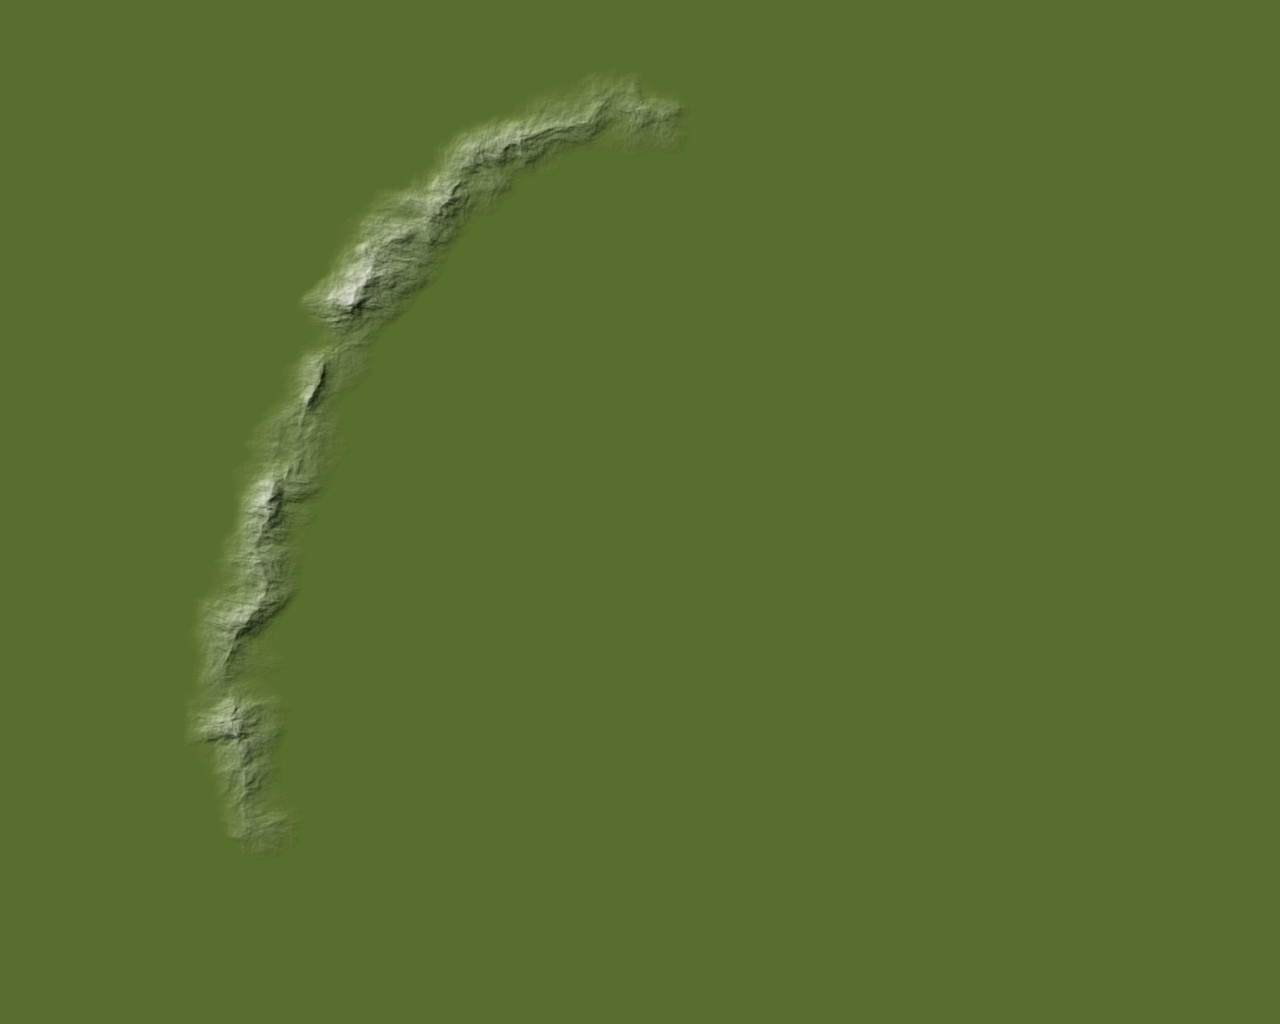
Push up the bumps

The ridge line is still generally visible, but less pronounced in the saddles and valleys. The lines previously observed are still somewhat evident, but moving them off horizontal and vertical, and giving them a bit more wiggle, does a lot to hide their regularity, while still having them available to add a bit of regular texture — as mountains exhibit in the real world.
One last touch, I like to add a bit of snow to the highest peaks. Copy the last ‘create from visible’ layer (labeled “Mapping Landforms 1 Angular, Multiplied, Displaced” above) so it is above the color layer. Set to overlay blending mode, then open the ‘Curves’ dialog (Colors -> Curves…) and set it to something like I show below.
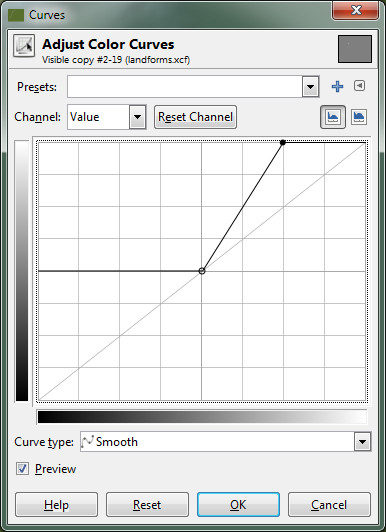
Overlay darkens the underlying image where the overlaying image is less than 50% bright, so setting the curve from the left edge to center at 50% means this will not darken the image. The right side of the curve increases the whiteness faster from the midpoint to the top end (at what was 75%) so the snow line is reasonably smooth. It can be sharpened by going to a steeper angle.
By changing the brightness curve of the overlay layer, you get slightly more white peaks as shown below.
I cranked it right up and made it as sharp as possible in the image below… not an improvement, I think.
Ultimately this requires a bit of experimentation each time. In this particular case the snowcaps are less pronounced because they sit on top of a simple green to pale grey gradient. I usually use a brown to grey gradient (or green to brown to grey), but I didn’t want to get into how to blend the edges today. Color is its own discussion :)
Closing Comments
The techniques demonstrated the other day were specific to masking overly-regular drawing elements. As such they focused on that and used extremely-regular drawing elements as a baseline.
This post described a way to get a baseline landform is isn’t straight, parallel, nor as regular as before.