
I’ve written a couple times recently about simple techniques for drawing mountain ranges. Yesterday I showed how I draw the basic landforms, and on Sunday I showed how I manipulate them to relieve monotonous elements and make them look better to me.
Under normal circumstances I would have presented the material in a different order (and back in 2009 I did! I wrote Yet Another Mountain Tutorial Using GIMP at the Cartographer’s Guild… there’s even a PDF up there that goes into more exacting detail of the GIMP techniques, including dialog screenshots, at each step of the way), but this is the order the topic came up.
So. Yesterday’s tutorial shows how to draw a mountain range. Which is lovely, but possibly not sufficient because in the real world there are often several mountain ranges in close proximity and usually more or less parallel to each other. But not straight.
Today, I’ll show how I do that.
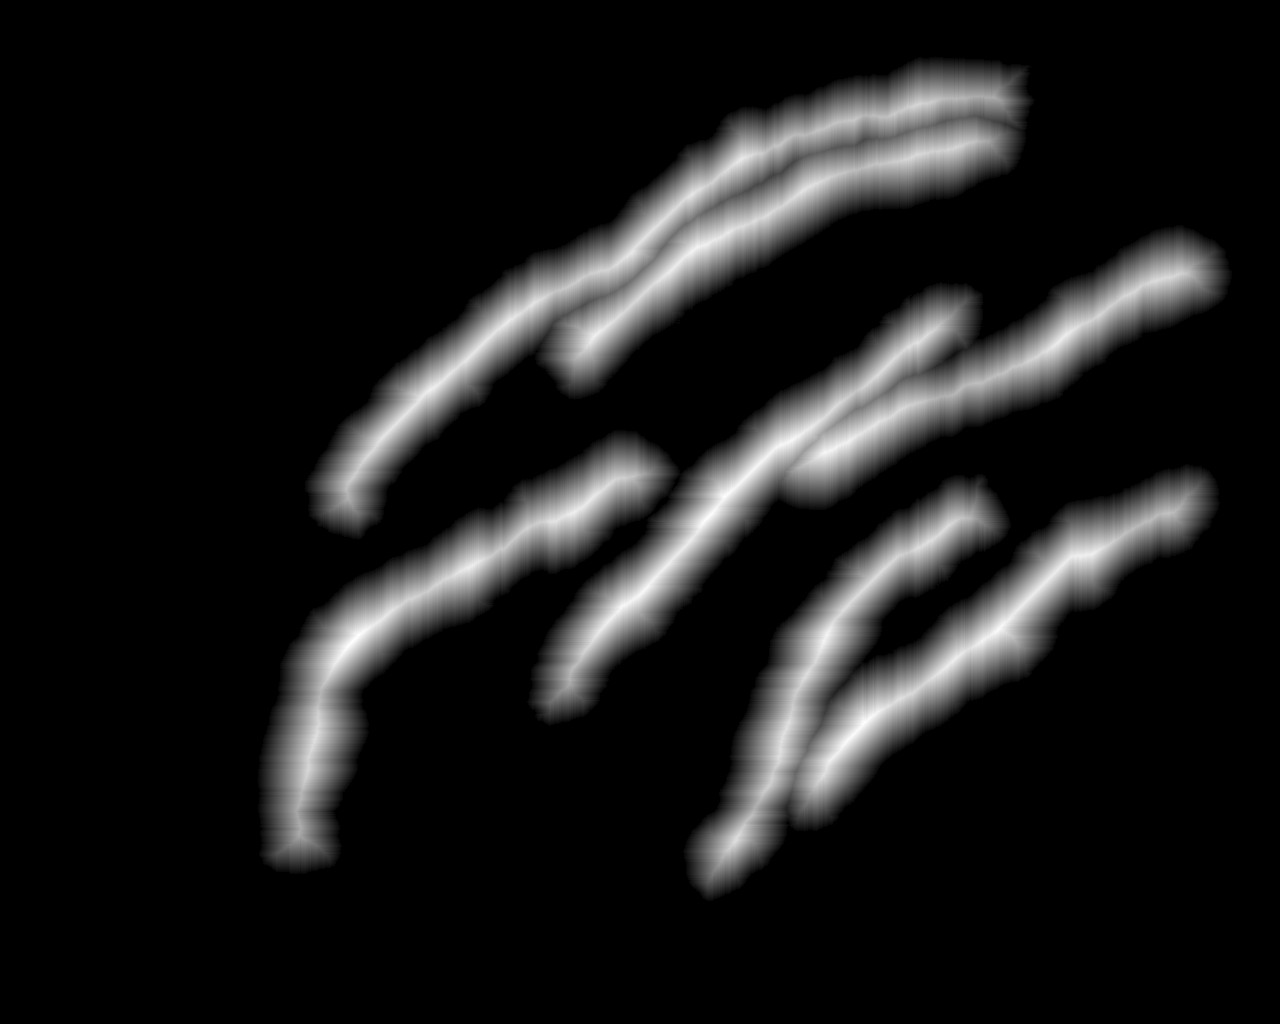
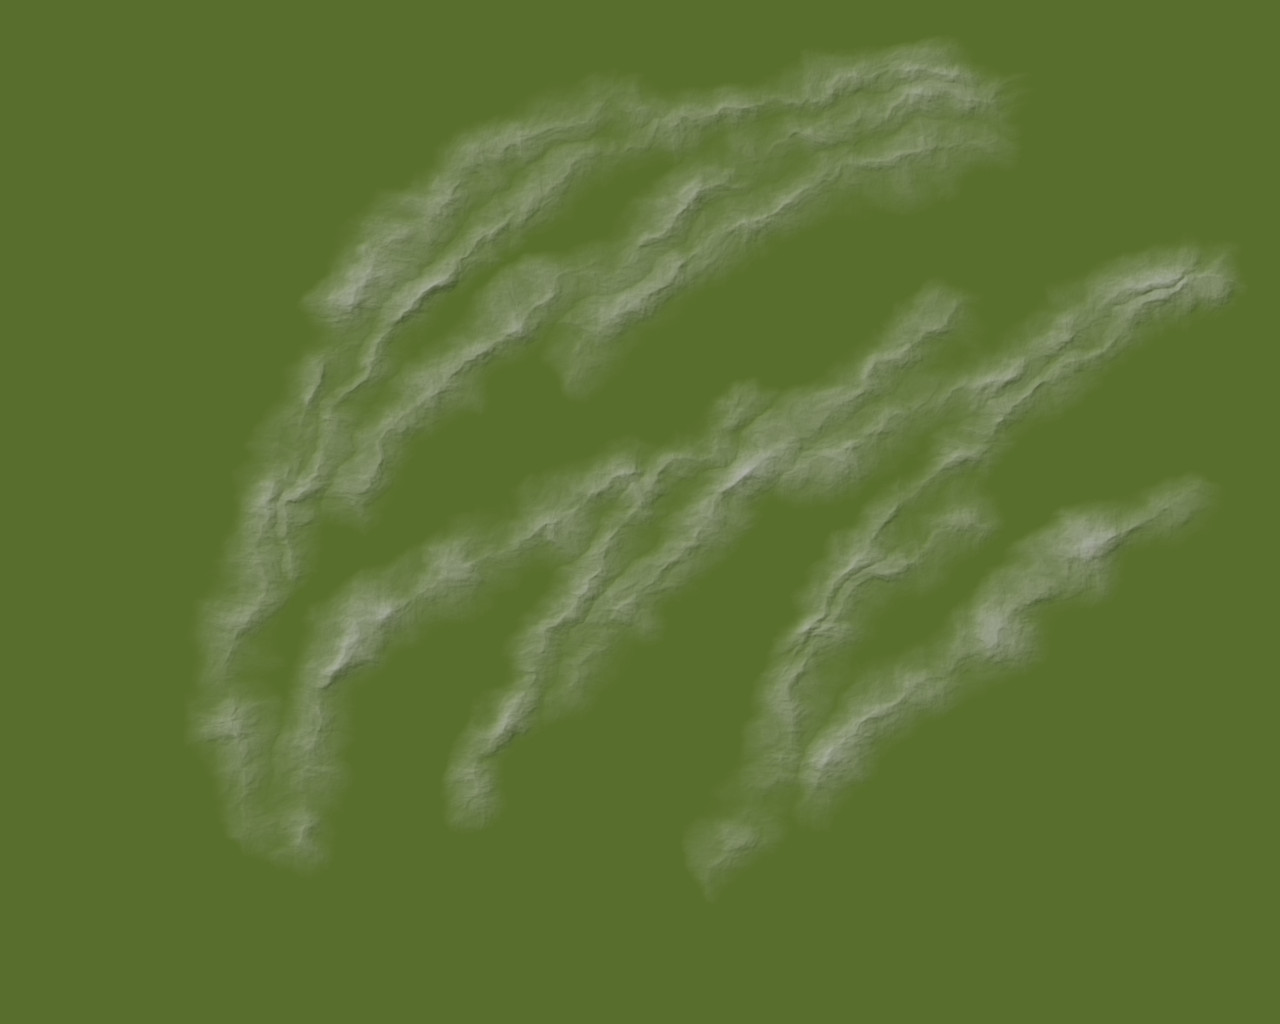
Starting with the image from yesterday’s tutorial,
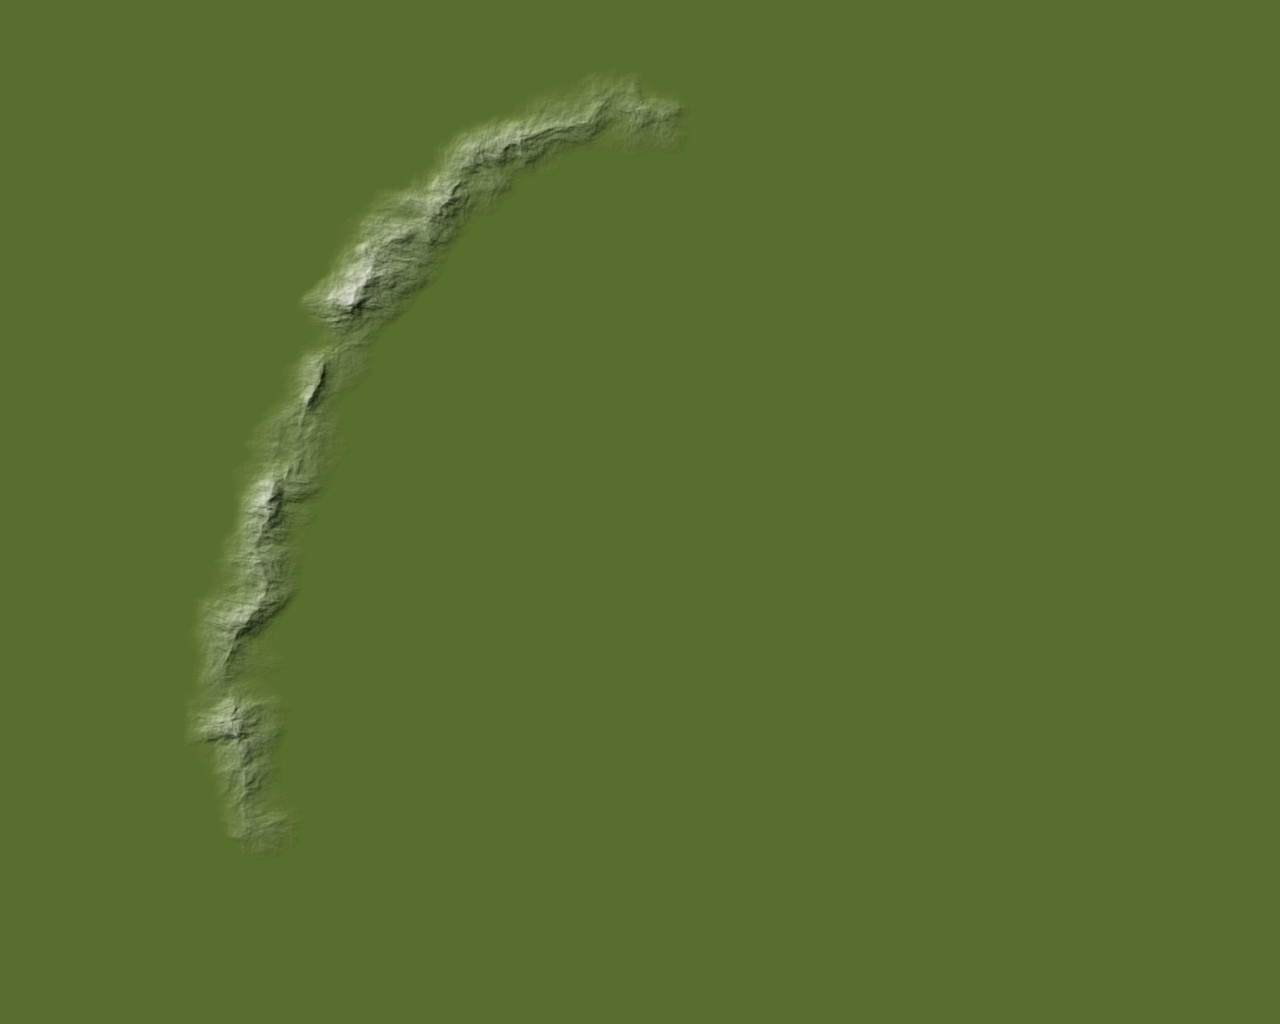
I’m going to roll it back to the original, stark, sharp-edged beginning.
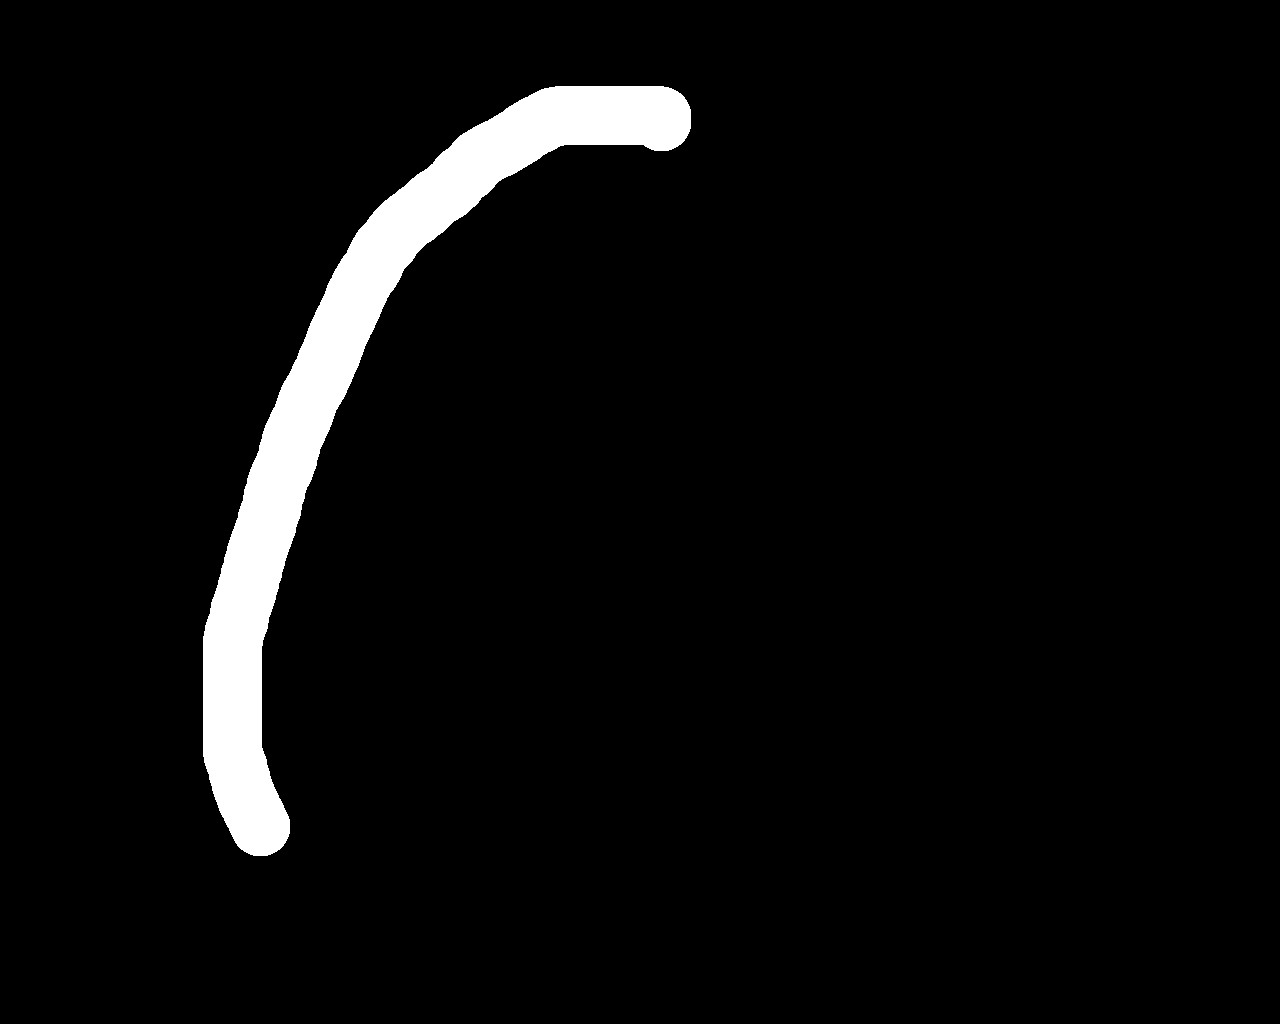
(This is why I kept it. I don’t make up everything as I go, I can do some basic planning…. sometimes. Also, I didn’t throw the other stuff away, I just moved this layer to the top.)
Create another black layer, grab a white pen (100 sharpness, size 60) and draw some more starting lines on the new layer. I find setting the new layer to partial transparency (this is 70% opaque) so I can see through it gives me an idea where things are.

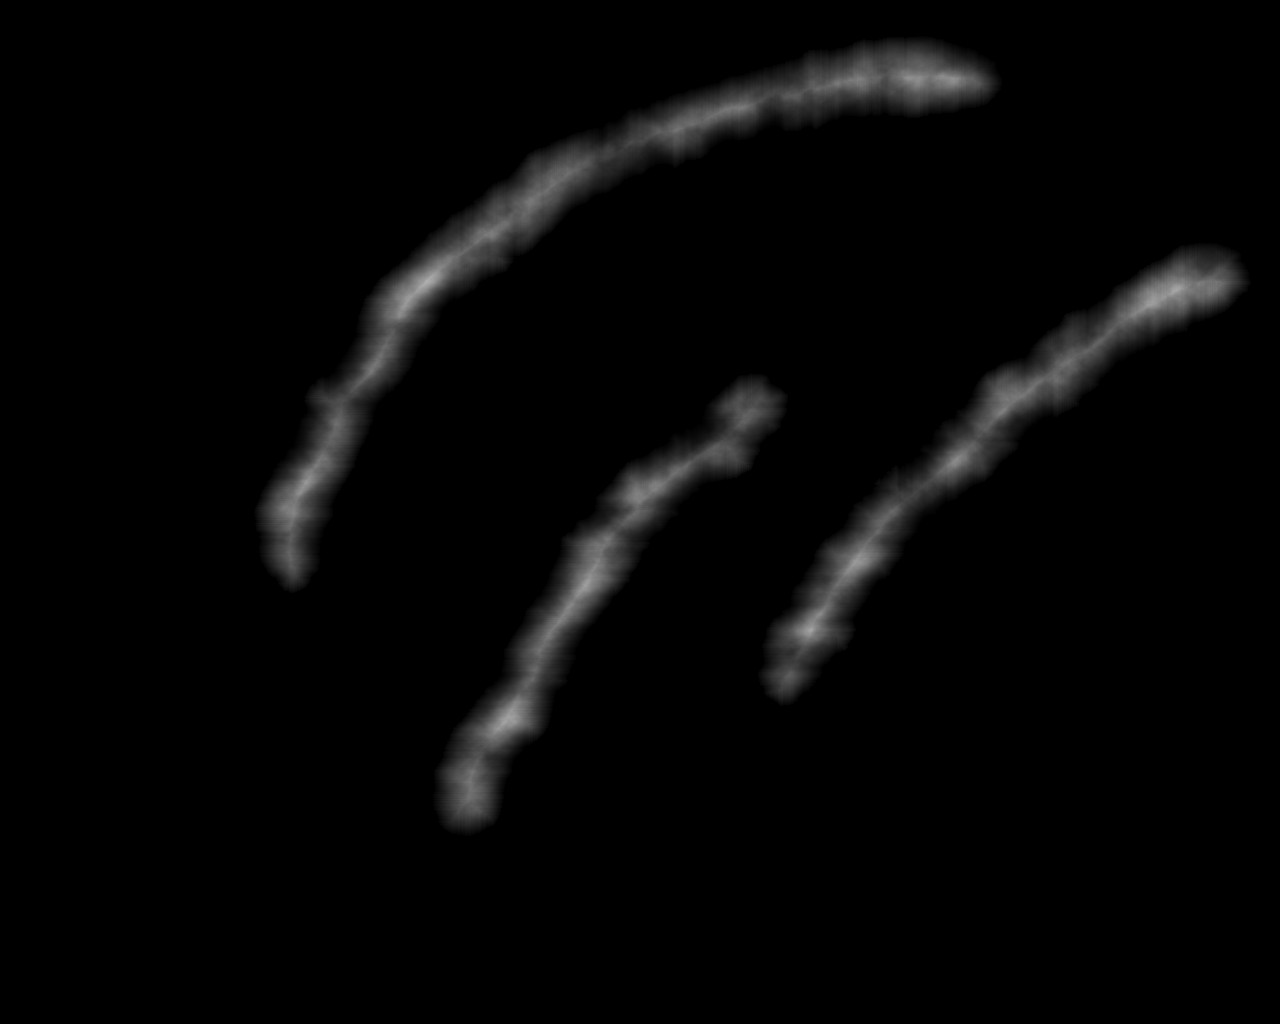
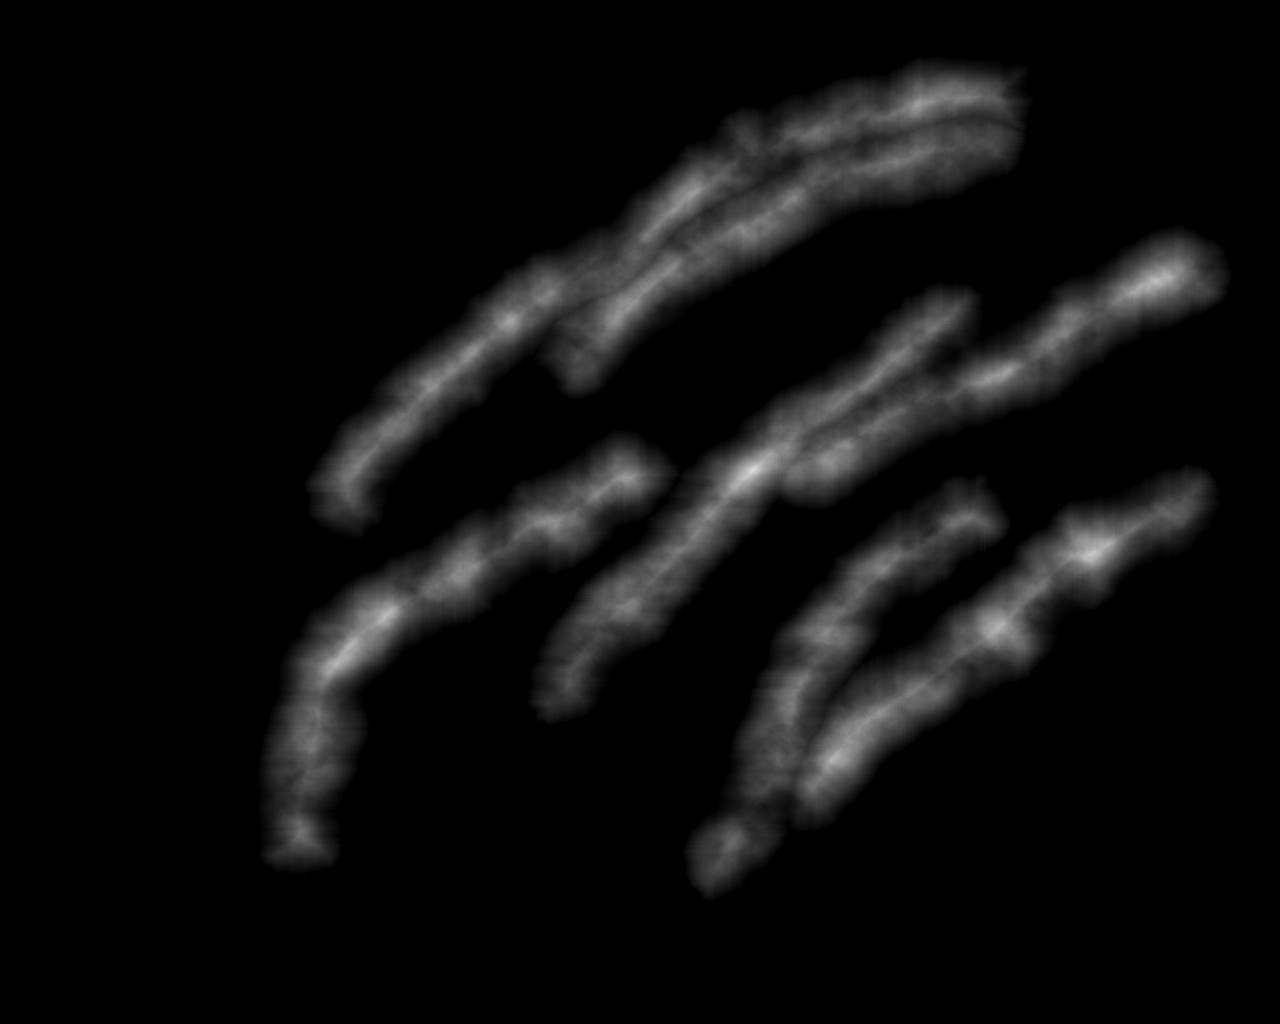
Set the new layer to full opacity and apply Gaussian blur with a radius of 91.

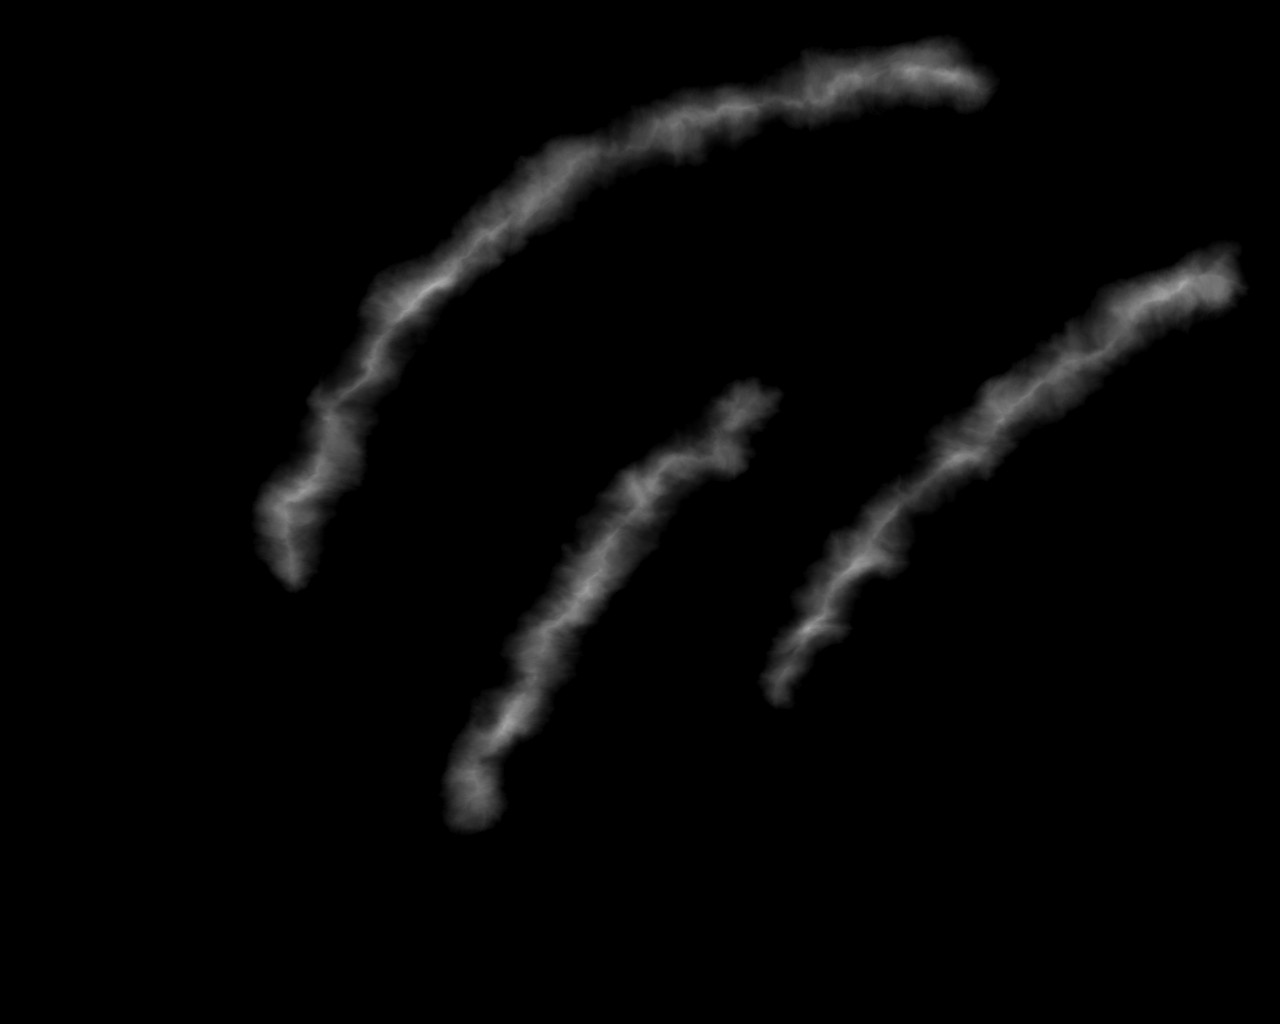
Move the noise-z layer to the top in overlay mode.

Select by Color to identify where the mountains are, new black layer, angular fill (white to black).

Move noise-z to the top, multiply mode. Create new from visible (the next step is destructive).
Displace (19 each way).
Now, do this a few more times, moving around a bit. Each time, overlap slightly with the previous one.
Here I’ve done two and taken them to the ‘angular fill’ stage. I set the top layer to ‘lighten only’. It should be clear where the ranges touch each other.
Then move noise-z to the top again, multiple mode.
Create new from visible, then displace.
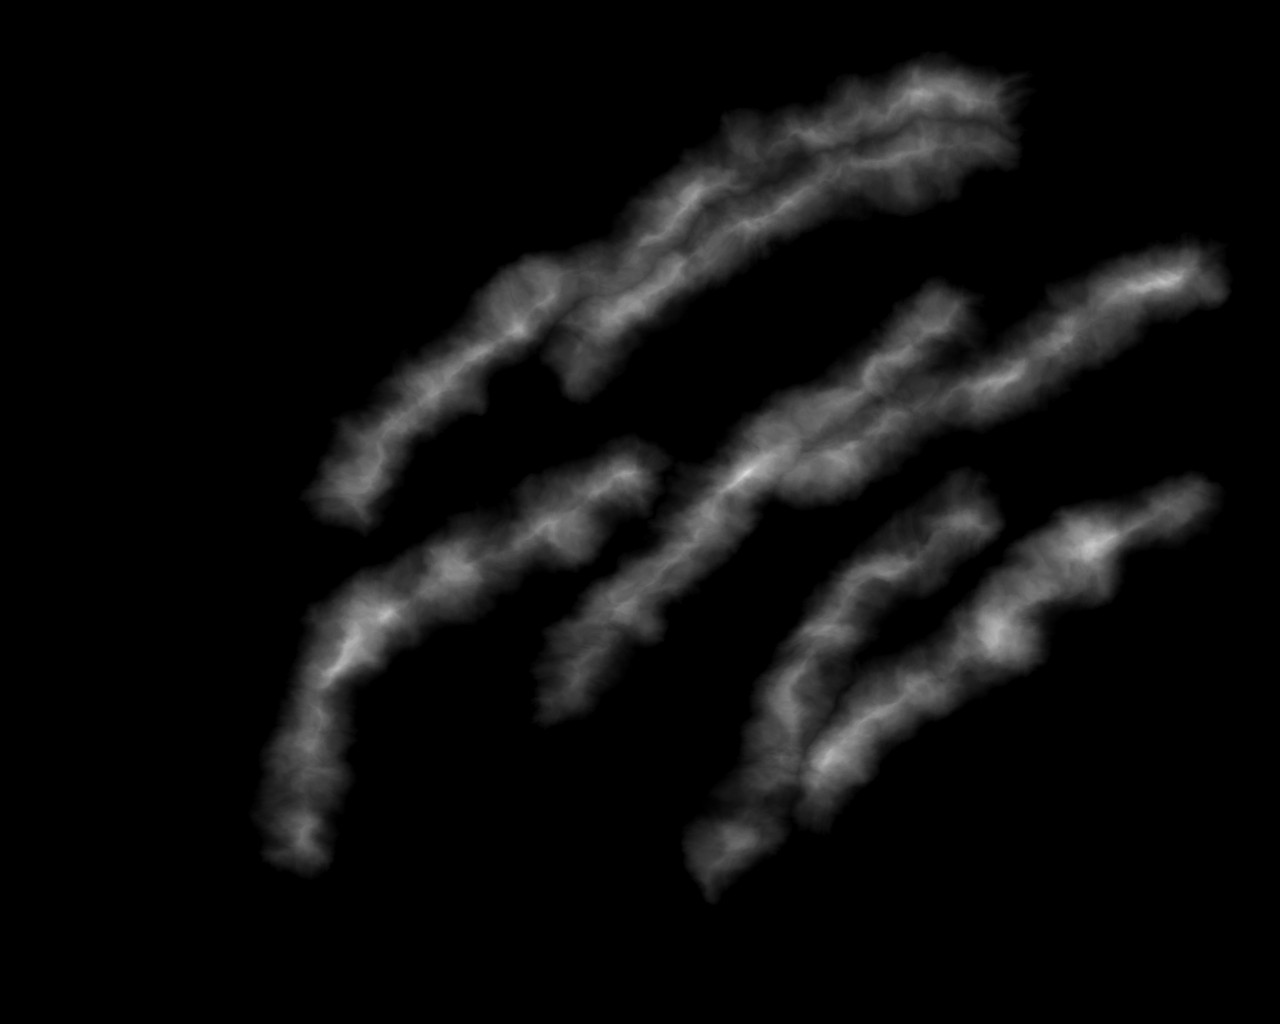
Now I turned on all the ‘displaced layers’, with the bottom in ‘normal mode’ and the rest in ‘lighten only’.
… what a mess. Ah well, it’s only to demonstrate the technique. Normally I’d be much more careful about placement. Create a new layer from visible, it’s the ‘new heightmap’ that we’ll render from.
Assign gradient color.

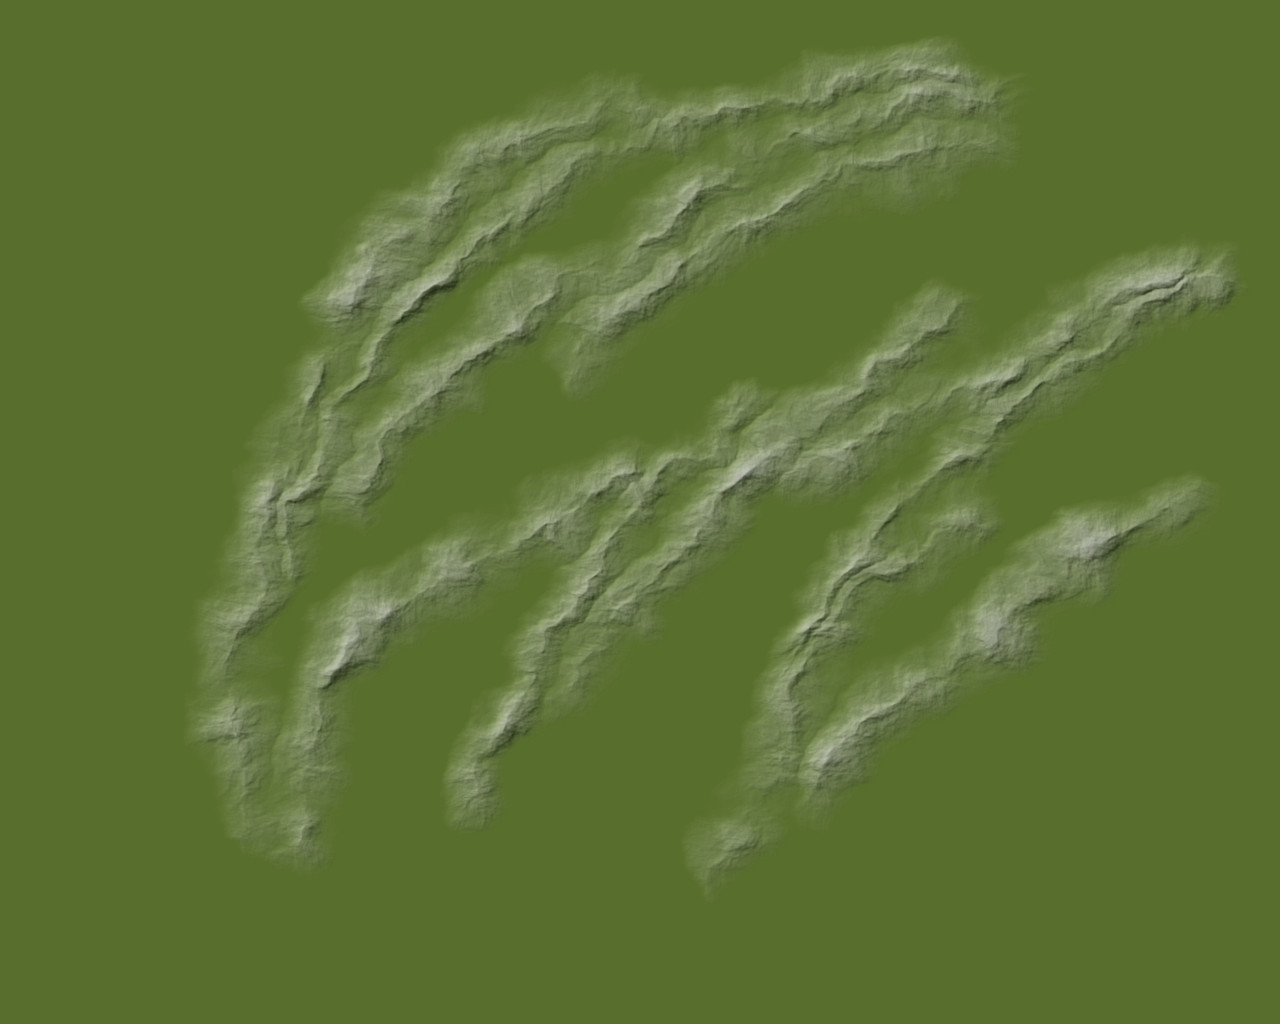
Add some bump mapping.
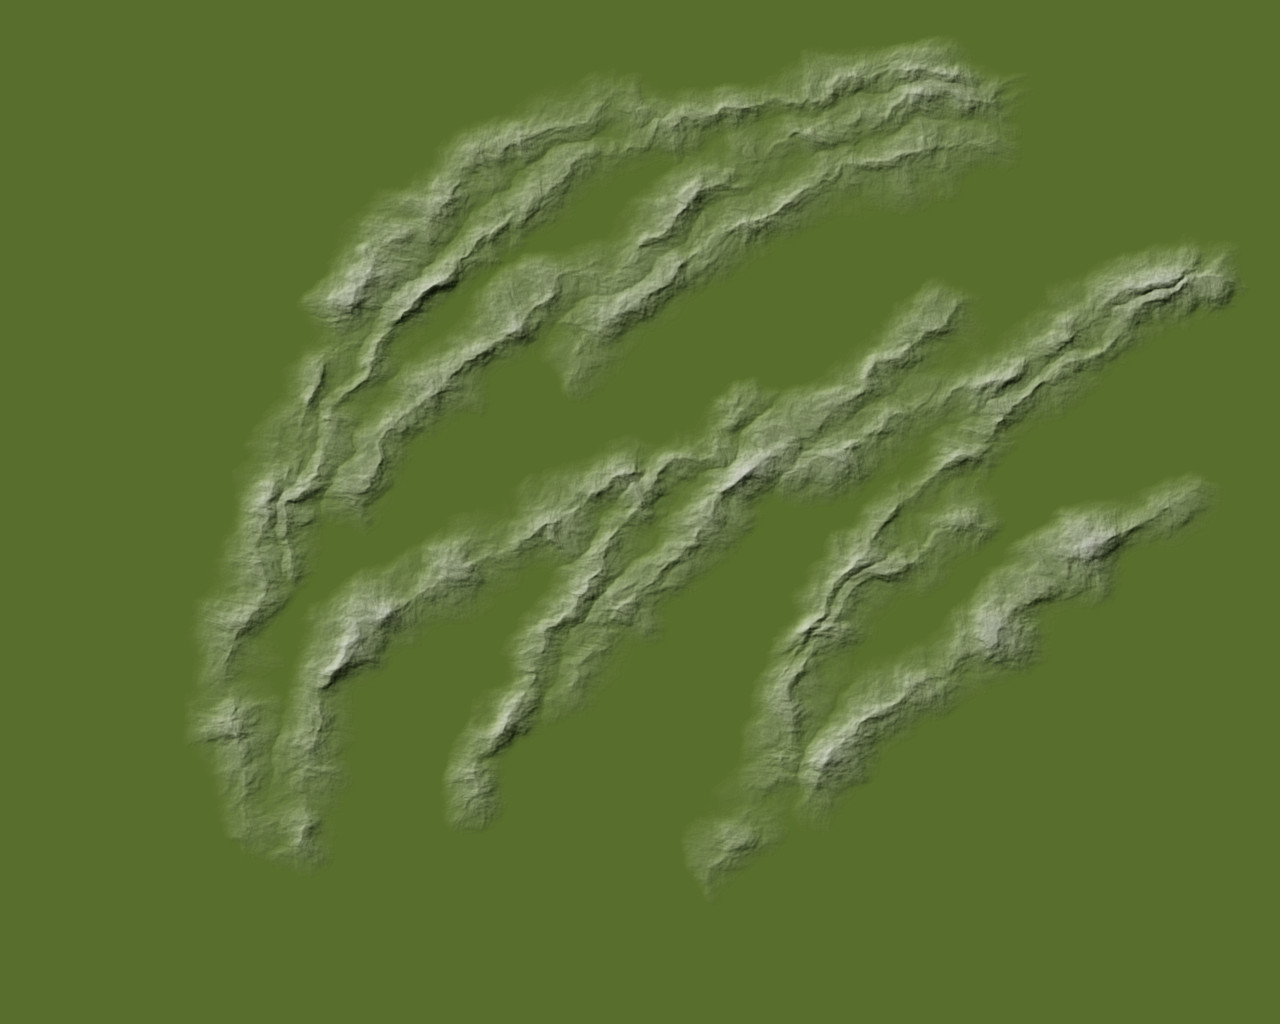
That’s… kind of nice, actually. But let’s add some more.
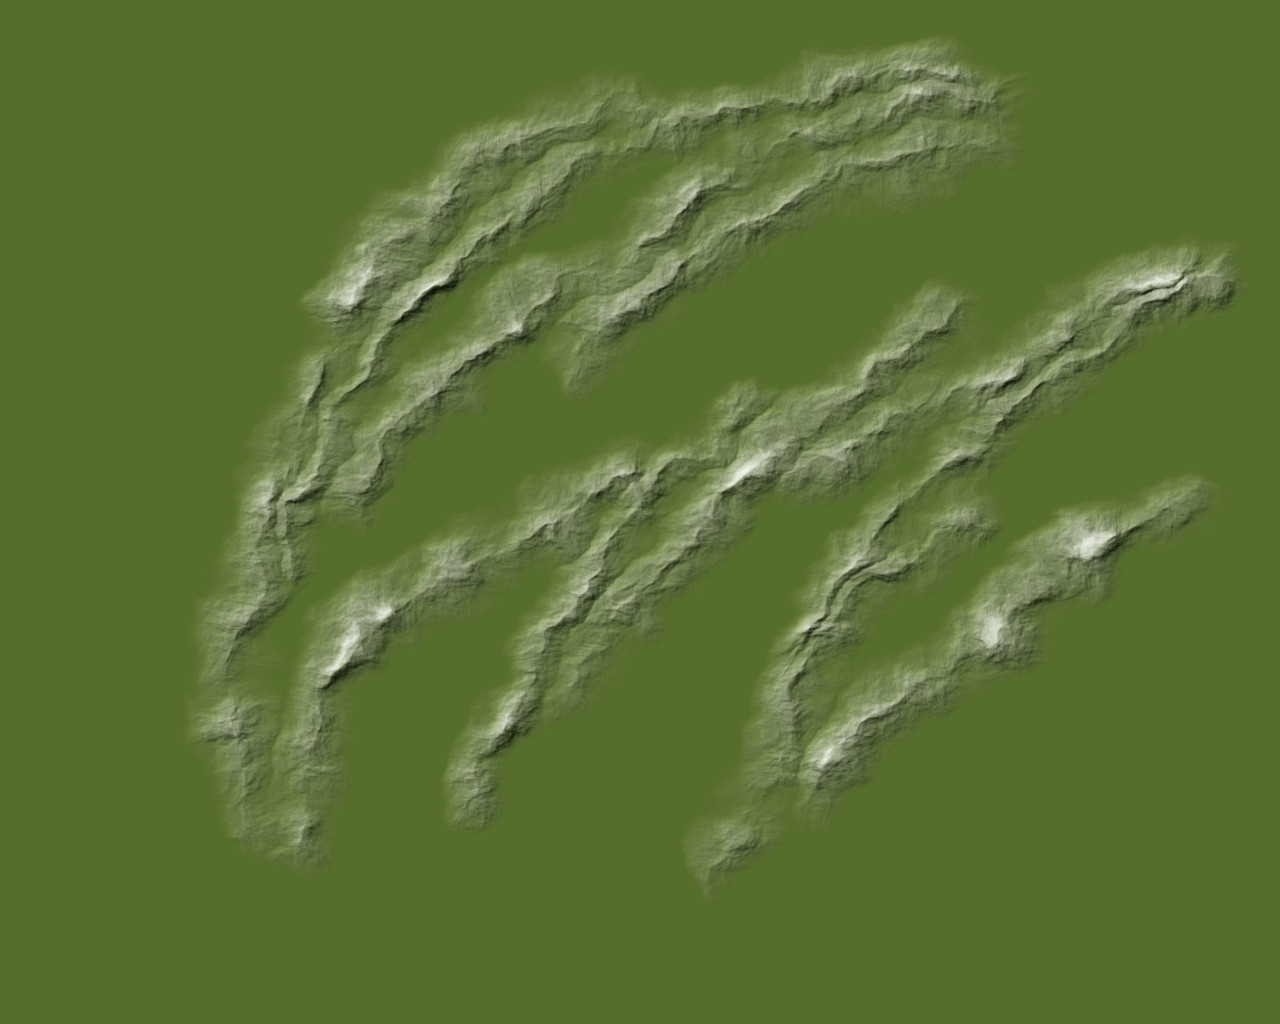
Yes… there are some fairly strong elements here, let’s try one more.
Too much, I think. I’m getting outright shadow in places. While this sometimes is what I want, in this case I think I don’t.
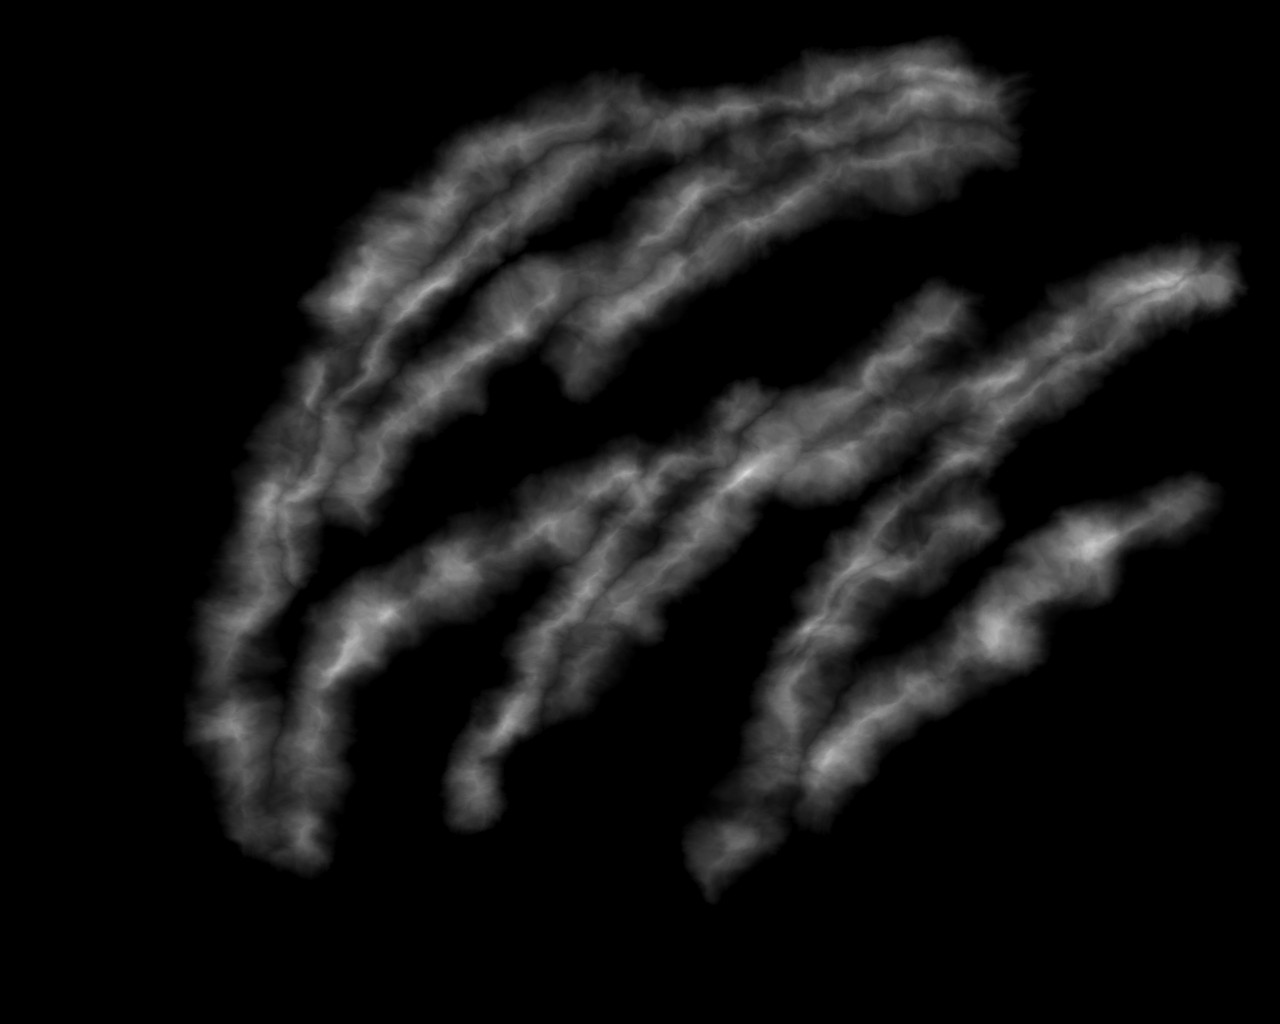
I’m going to back it off to the doubled bump map (‘bump mapped more’ above) and add some snowcaps.
The snow caps are a little more aggressive than I showed yesterday. I wanted them to stand out a bit more.
Closing Comments
Mountain ranges often have several distinct ridges somewhat close together and more or less parallel. In the example from this post I built up many such ridges to show different intersections and alignments. The two west-most might be a fairly common configuration. The southern ‘zigzag patterns’… I don’t know how often that happens in our world, but the individual merges and splits certainly do. The east-most end of the norther ridges show what it might look like when you’ve got three more or less parallel.
The important thing when creating multiple ridge lines and using angular fill is that the individual ridges must not touch. I didn’t show the intermediate layers, and perhaps I should have, but if I were drawing a region full of ridge lines I’d draw them something like ABCDABCDABCD — that is, three ridges on layer A, far enough they won’t touch, then three ridges on layer B far enough they don’t touch each other but slightly overlapping or close to A, three ridges on layer C that… and so on. The angular fill does bad things if the areas being filled intersect or even touch, so keeping them separate and then blending the layers at the end lets you keep the ridges distinct, while retaining valleys and the like between them.
Speaking of valleys, the use of the same noise layers for each of the layers is critical. For the Z (elevation) layer that is why the ridges, peaks, valleys, and saddles tend to be similar close together. The two ridge-peaks at the east-most end — about two o’clock on the image — are so close to the same height because the same noise layer was used to adjust their heights.
Similarly, by using the same noise layers for displacement for all images we get things retaining much, but not exactly, the same displacement. Two ridges that run more or less parallel will continue to do so, modulo the slight differences in the noise layers. The eye can pick up on the similarity, without it be so similar that it seems artificially parallel.
Small Observation
The colors between the very first image (end point of the previous image) and the final version here are slightly different. I believe this is because I ultimately had slightly different degrees of bump mapping between the images, which would have some effect on the color.
Just for fun, though, open the first and last images on this page on separate tabs and toggle between them, and you’ll see just how the pieces fit together. As long as you keep your intermediate steps (especially the noise layers!) you can continue to build on the mountainous region.
Experiment with different pencil widths, change the Gaussian blur parameters, try different blend modes (I like using multiply after the angular fill, but overlay can be good too — you might try changing the curve on (a copy of!) the noise layer so it goes from 0..0.5 instead of 0..1, so the overlay only darkens and peaks don’t blow out).