
So very close to done with the mapping tutorials for now.
- On Sunday I described how to create the heightmap for a mountain range, and how to render it.
- On Wednesday I showed how to create the landform for a non-straight mountain range (because the previous article used straight, parallel ranges).
- Yesterday I demonstrated how to build multiple ranges close together.
Now for the finishing touch: color.
My focus on the previous images was on developing the height map for mountain ranges, in varying degrees of complexity, and then quickly rendering the result so we could take a look. That mostly looks okay, but in my view
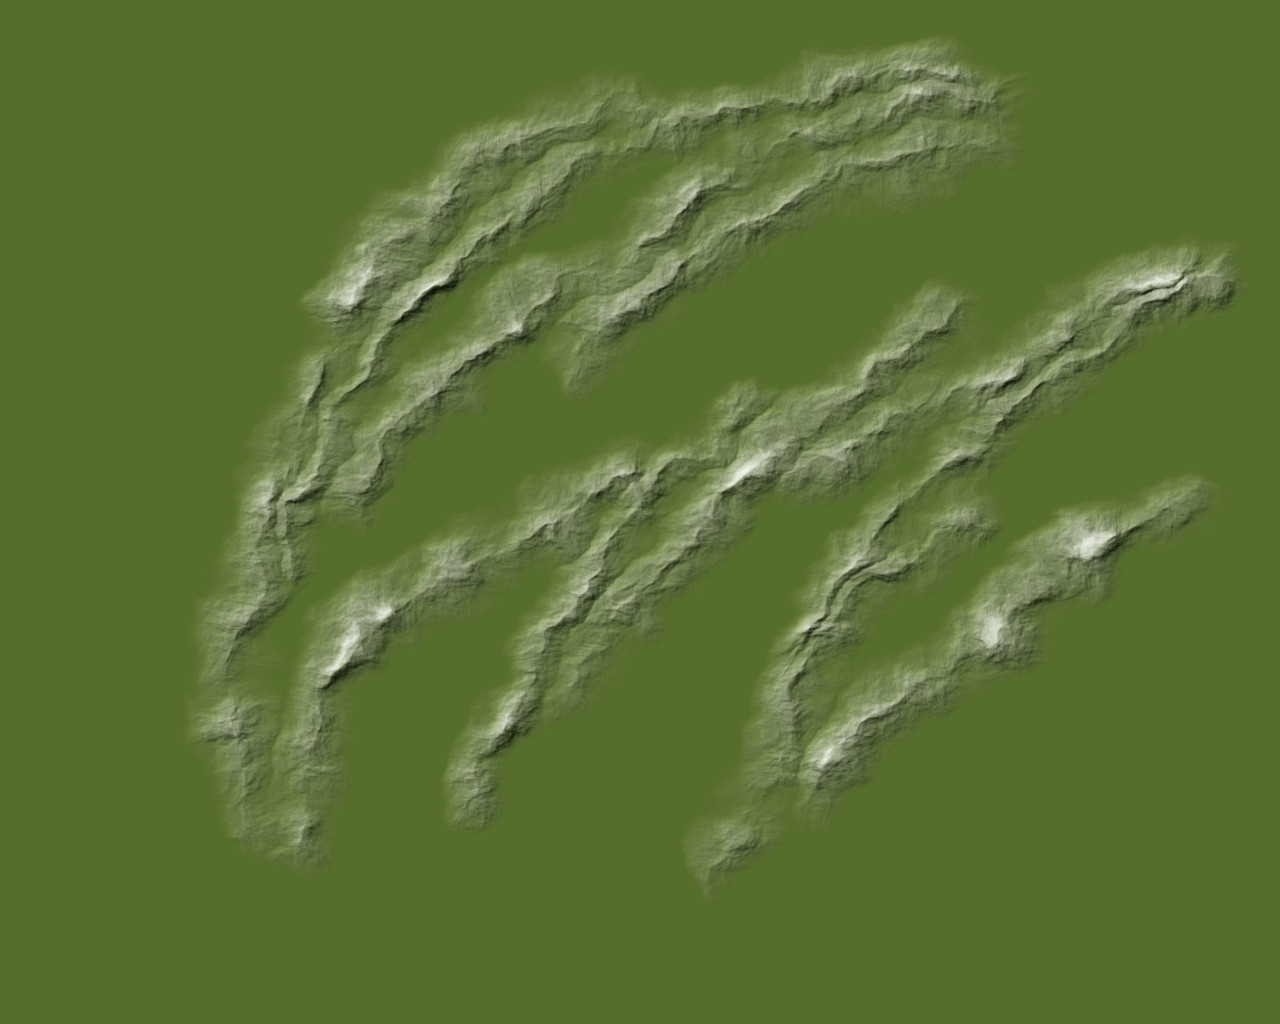
isn’t quite complete. Thankfully, the last part takes longer to describe than it does to execute.
First, create a gradient, green through brown to light grey. We add one new color to the palette.
- black (0x000000)
- white (0xFFFFFF)
- medium grey (0x808080)
- medium green (0x586E2C)
- medium brown (0x6E582C)
- light grey (0xADADAD)
To create the gradient, open the gradients tab and click the ‘new gradient’ button at the bottom.
- Right-click on the gradient preview shown and select “Left Endpoint’s Color…”, then choose the medium green and click ‘OK’.
- Right-click on the gradient preview shown and select “Right Endpoint’s Color…”, then choose the light grey and click ‘OK’.
- In the Toolbox, change the default foreground color to medium brown, then drag the foreground color into the gradient.
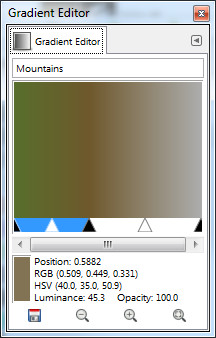
- Adjust gradient midpoint and control points to suit. In the gradient to the right I spaced everything fairly evenly:
- medium green at 0.00
- pale grey at 1.00
- medium brown at (about) 0.50
- control points at 0.25 and 0.75
- Name and save the gradient.
Duplicate the last heightmap layer (the black to white one you previously copied and colored from green to light grey) and move it above the green heightmap layer.
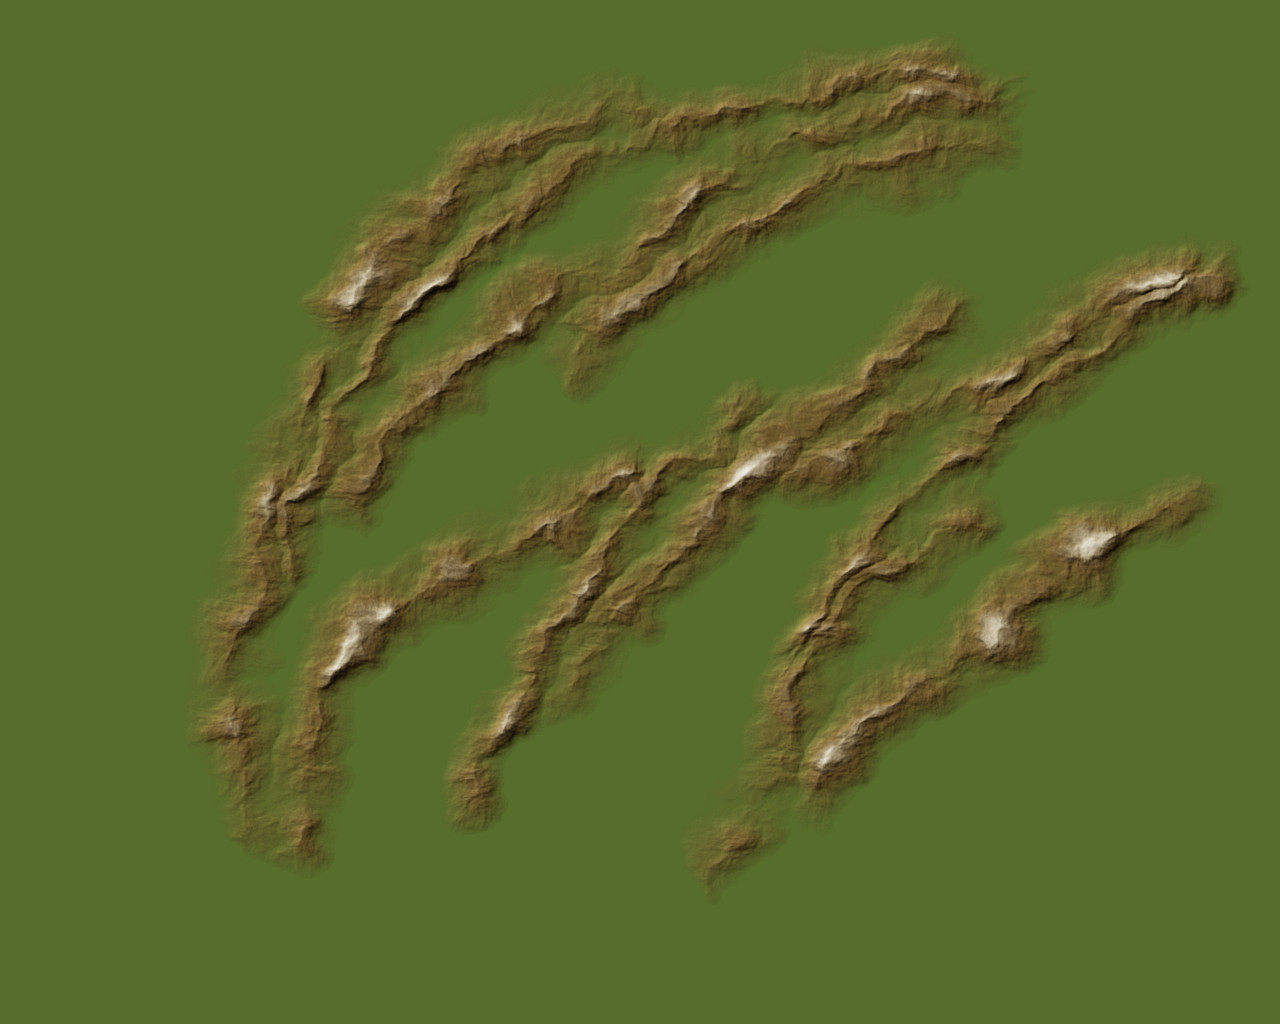
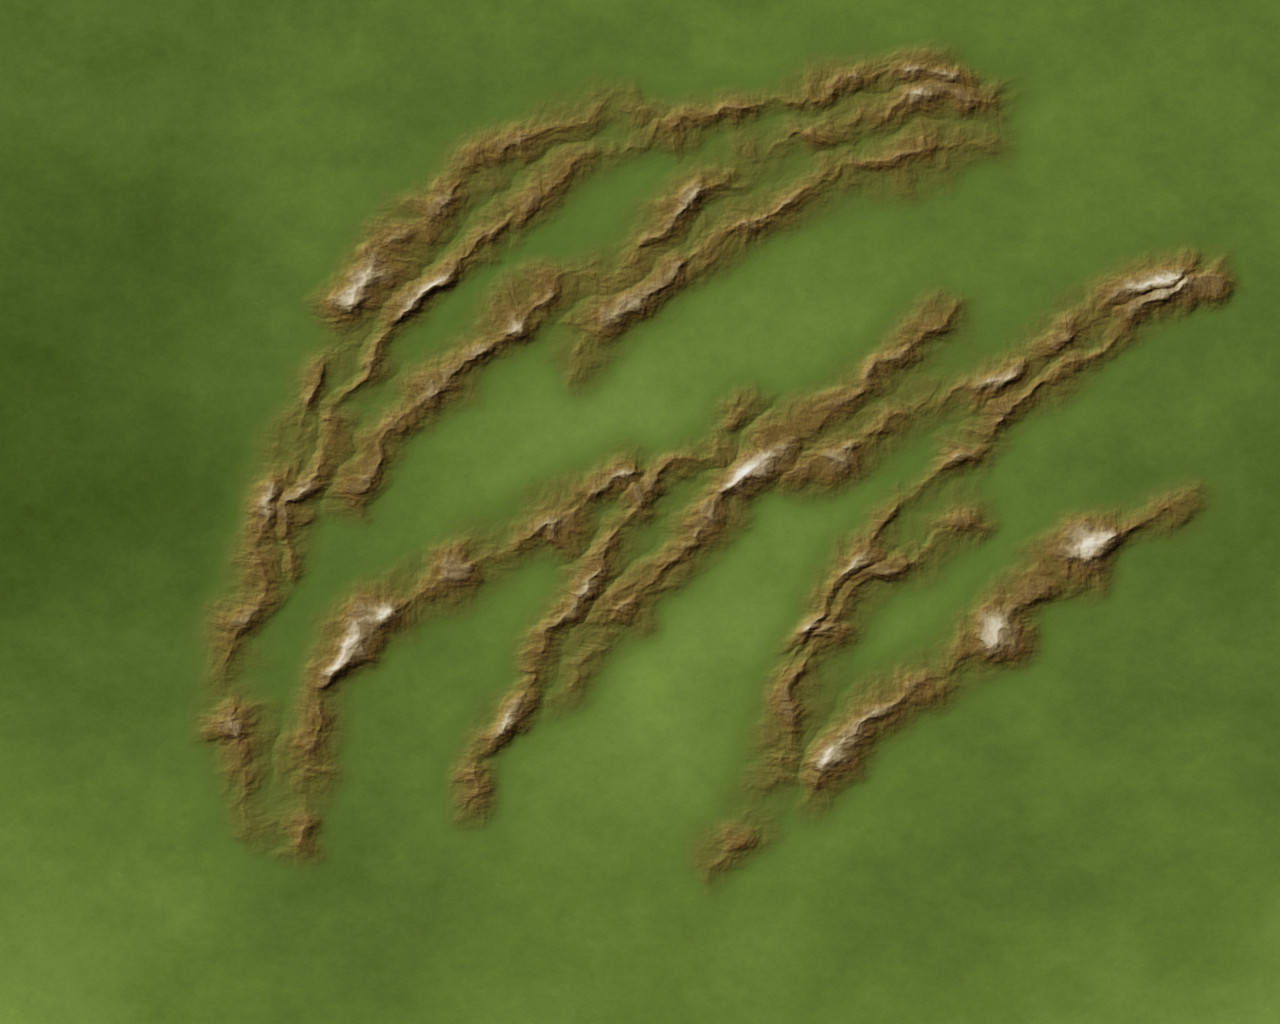
Select the new gradient in the Gradients window, make sure your heightmap layer is selected, then apply the gradient to the layer (Color -> Map -> Gradient). With the snow layer turned off, you get something like this.

Now the mountains stand out much better. The gradient allows the color to smoothly shift from green at the lowest elevations into brown in the midrange and pale grey at the highest peaks. This stands out rather better than the previous, green-to-grey version. Still, I’d like to shift the ‘brown elevation’ down a bit and make the peaks a little more prominent.
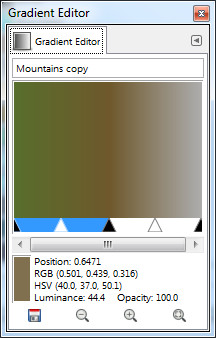
I copied the previous gradient and edited it. I dragged the gradient midpoint (the black triangle) and the control points slightly:
- medium green at 0.00
- pale grey at 1.00
- medium brown at (about) 0.40
- control points at 0.20 and 0.70
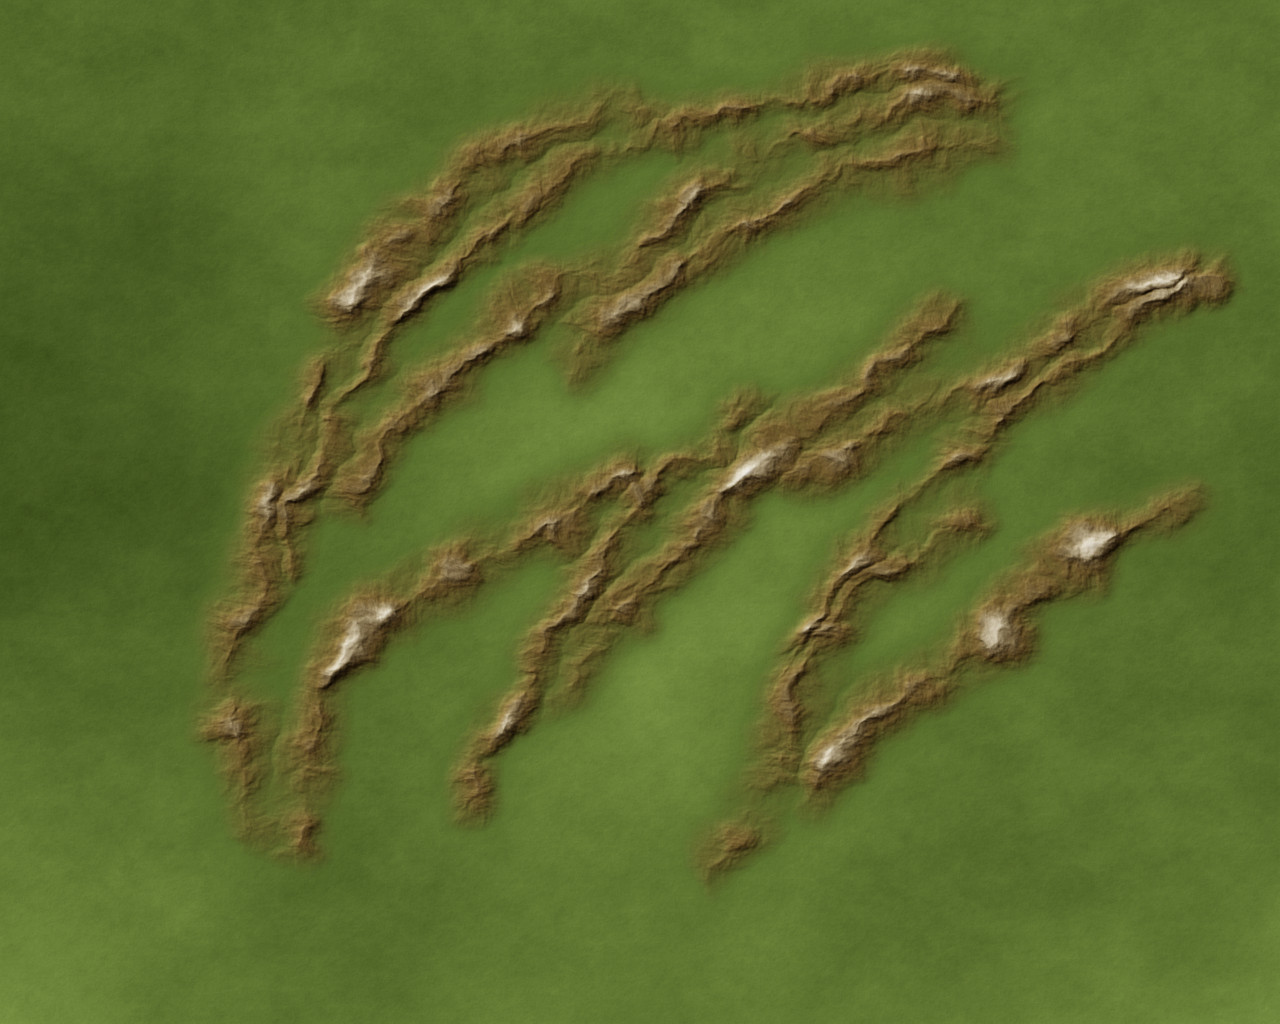
This gave me more brown in the lower end and more grey at the higher end.
(Actually lying a bit: I did this one first, then made the more evenly-spaced version.)
Duplicated the heightmap layer and applied the gradient to it.

It is, I admit, not a huge difference… but I like this one a bit better.
Then, make the snow layer visible again, and I’m basically done for now.
Very simple techniques, easily applied, but they make it look so, so much better.
Masking
Finally, in this series of tutorial posts I didn’t talk about masking. The images so far have been ‘only’ of the mountains, but in practice you’ll probably want to mask out part of the layer so only the mountains are evident.
It’s not hard:
- In the channels tab, for each of your original selection regions, do “Add to Selection”.
- In the layers to be masked, right-click and “Add Layer Mask…” from the selection.
- You’ll probably want to mask your color layers and possibly the bump map layers (so they’ll blend somewhat with the texture of what’s under them; I’ll demonstrate below).
- The other working layers — the height maps, the range selection, and so on — are best turned off. I usually keep them in case I need to make changes later, but don’t show them now.
- With the layer mask selected, displace it using the same settings (X and Y both 19 in this case, using layers noise-x and noise-y respectively) to make the layer mask the same shape as the mountains, then add a bit of Gaussian blur (5..23 pixels worth — I used 23 here) to smooth the edge of the mask a bit so it blends better.
- If you have several of these, copy the layer mask from layer to layer; Add Layer Mask and Displace gets old after a while)
In the image below I threw a quick and dirty ‘grass texture’. Add a layer below the mountain colors layer, ensure it’s selected, then use “Filters -> Render -> Cloud -> Plasma Cloud…”. Tweak settings until you have something like — it’ll be garish, but the next step gets rid of that. Use “Colors -> Desaturate…” to reduce it to greys, then set the layer on ‘overlay’ blend mode.
Then, above the snow adjustment layer and below the mountain bump map, add a medium grey (0x808080) layer in overlay mode, and give it a mild (depth 3..8 or so) bump map, using the grass layer just created as input. Linear is fine. This to give the ground just a bit of texture. I find that I can see that the bump map is present if the depth is 8, but at depth 3 I can really only see if I toggle the bump map layer off and on. Anywhere in this range usually works for me.
In the image below I used a depth of 3, just enough to give it a tiny bit of texture.
Without the masking, you wouldn’t see the mottled ‘grass’ at all, it would be a smooth green plane.
Closing Comments
These final touches, simple as they are, make a big difference in how the picture looks. The green-to-grey mountains have visible terrain, but while they have good shape, the color choice can be better.
The easiest way to do this cleanly is to create a three-color gradient (in this case green-brown-grey) and apply it to (a copy of) the heightmap. By using three colors like that, and ensuring the “left endpoint color” is the color of your background, you get a smooth transition from lowest to highest elevations. In this context is also gives you some foothills, the lower elevations that are primarily green, before getting into the middle and higher elevations. Careful color choices help you keep the textures evident; go too light at the highest elevation and the peaks get blown out and turn into flat white patches that don’t look very good.
As always, there is a huge amount of experimentation you can do. Colors, region sizes and shapes, bump map parameters, there are many things to you can do make these techniques work for you.
The biggest, or most likely, problems you’ll run into:
- Not using ‘sample merged’ when selecting your range selections. If this isn’t on you’ll end up selecting by color on the selected layer, which almost certainlly will not do what you want.
- Not turning off antialiasing when selecting your range selections. This gives you ‘partial pixels’ around the edge, and that does strange things around the edges of the angular fill at that step.
- Causing the range selections to accidentally touch when you have more than one. Angular fill works on each selected region, and if they touch it does strange things to the math involved and almost certainly won’t get what you want.
- Try it and see. I can’t describe it well, but you’ll know what I mean by ‘strange’.
- Using colors that are too bright. When blending layers (especially overlay; multiply doesn’t have this problem because it’s never brighter than either starting layer) or bump mapping this can easily lead to blowing the colors out. You’ll know it when you see it, it’s not pretty.
Masking the mountains makes it easier to blend them with the other terrain features around them.
Pingback: Z-A Challenge 2016 Index | In My Campaign - Thoughts on RPG design and play