Height Map to Final Image
I use this process for each version of the image, so I’ll describe it once here.
I start with the height map below.
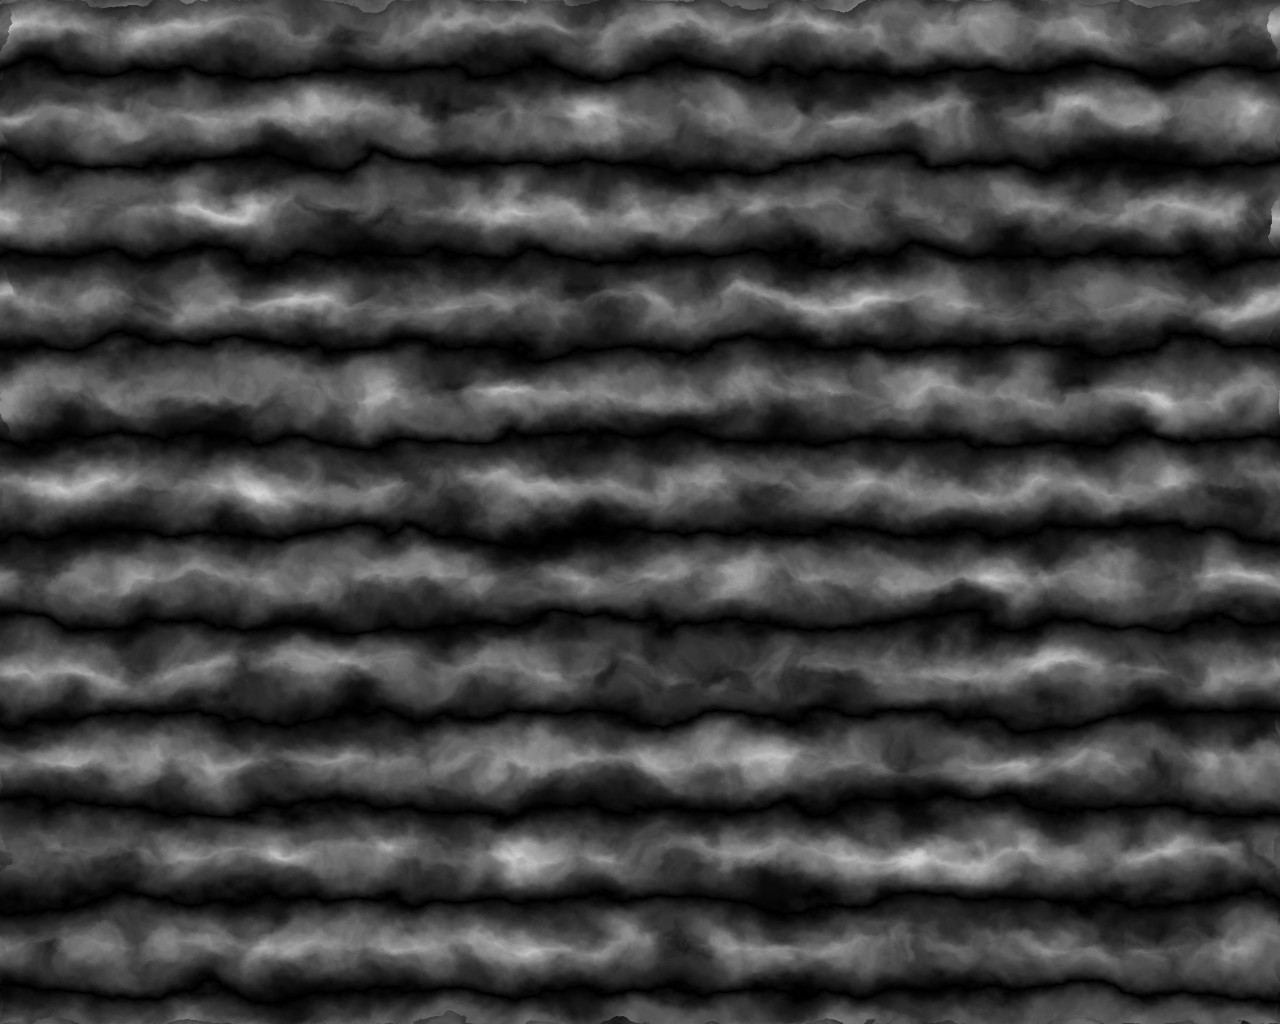
I duplicate it and apply a gradient color map.
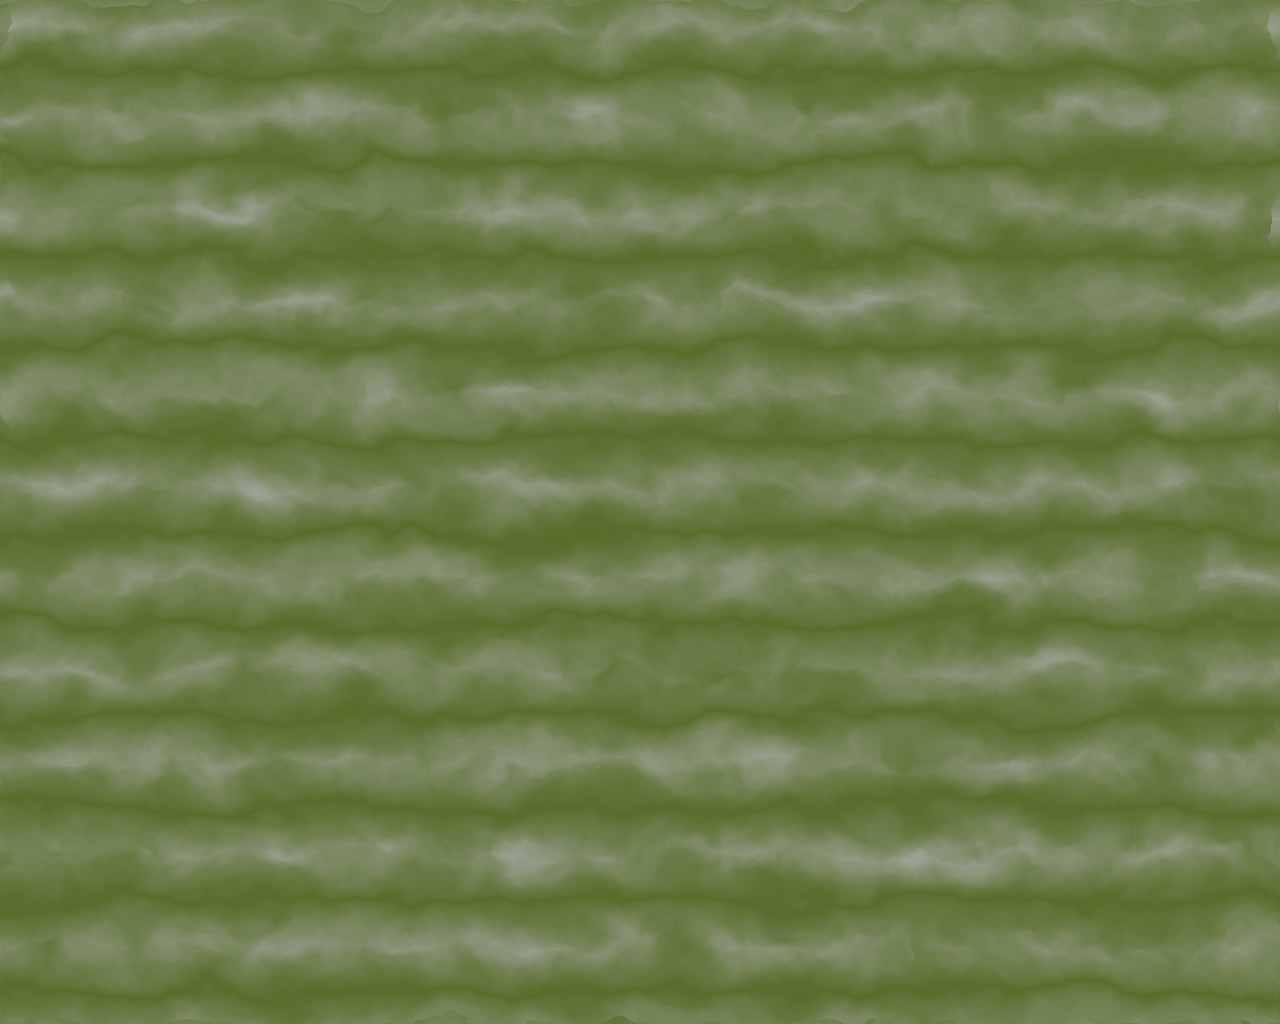
I add another layer on top of this one, filled with medium grey (0x808080), set the layer blending mode to ‘overlay’ (which lightens or darkens the underlying image depending on whether the overlay image is lighter or darker than medium grey at each pixel), then apply a bump map using the height map as input.
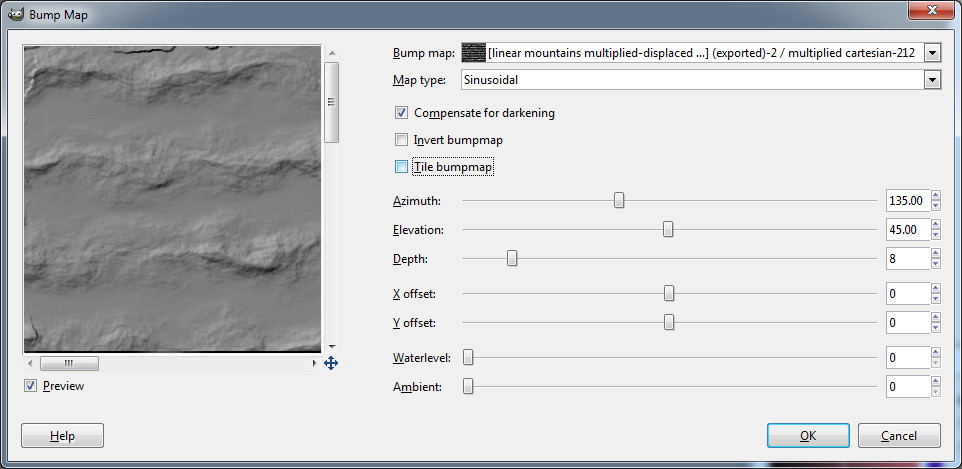
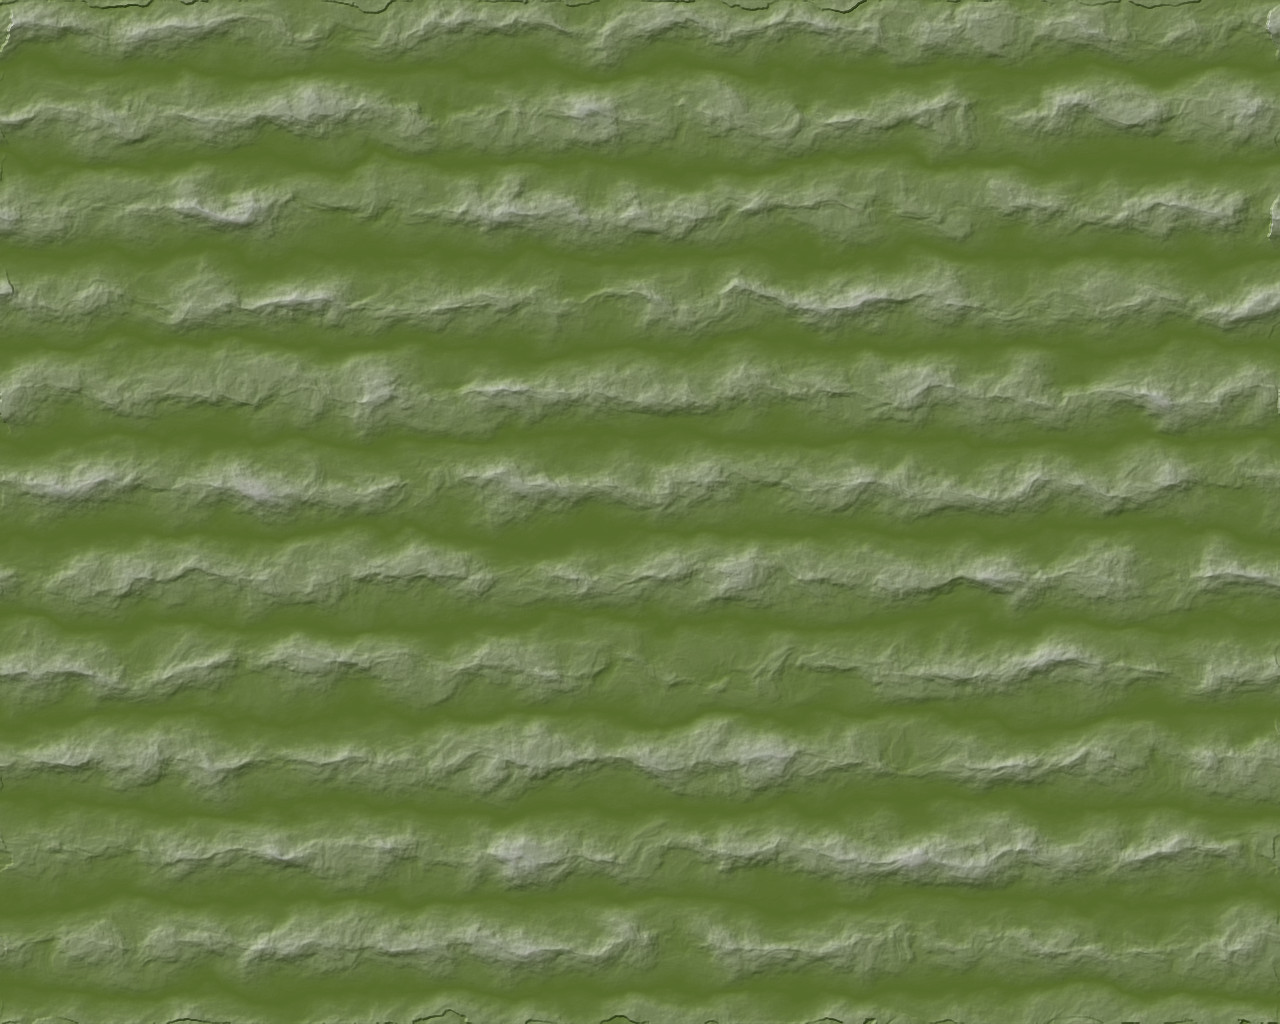
This treats the height map as having elevations, and uses differences in the values from pixel to pixel as if there were a light source at 135 degrees (from the northwest) at 45 degrees elevation — common convention for this sort of thing. In the final image I actually did the bump map twice, enhancing it, but the above should make clear what I did.
I used a sinusoidal bump map, which exaggerates the high points. They’re mountains and I wanted the peaks to stand out.
With the bump map overlaid, the mountains really start to stand out.
Now, time to get to the actual variations.
Pingback: Revisiting the Mountain Tutorial, Drawing the Initial Landform | In My Campaign - Thoughts on RPG design and play
Pingback: Several Mountain Ranges Together | In My Campaign - Thoughts on RPG design and play
Pingback: Touching up the Mountain Colors | In My Campaign - Thoughts on RPG design and play