Basic Tools
I used the GNU Image Manipulation Program (GIMP) for this exercise, but Photoshop has the same facilities (though I admit I don’t know what they each called or where to find them).
Colors
I used five colors in creating these images.
- black (0x000000)
- white (0xFFFFFF)
- medium grey (0x808080)
- medium green (0x586E2C)
- light grey (0xADADAD)
Normally I’d probably work with a more complex color gradient (introducing some brown), but for what I’m demonstrating today this should be sufficient.
Triangular Wave Gradient
In preparing my baseline map I used a triangular wave gradient. Using the default colors (black and white) I selected the blend tool, the bi-linear shape, and triangular wave shape. Holding the Ctrl button (to constrain the lines to 15-degree increments) I dragged a short distance down and released the mouse button, giving me a simple height map with parallel ridges running east to west.
I’m now done with this tool, and with the colors black and white for that matter.
Color Gradient Map
At several stages I duplicate my height maps and apply color via a gradient map. This maps the colors in my heightmap to my foreground and background colors, along a gradient (black to green, white to light grey, then a smooth gradient between them). I used the same colors and settings for all versions.
Bump Map
The height maps alone, even colored, give no real visual indication of elevation to most people. Creating a bump map from the height map gives the terrain texture and makes it ‘pop’, so it’s more evident to the eye that there is actual terrain here.
Compare
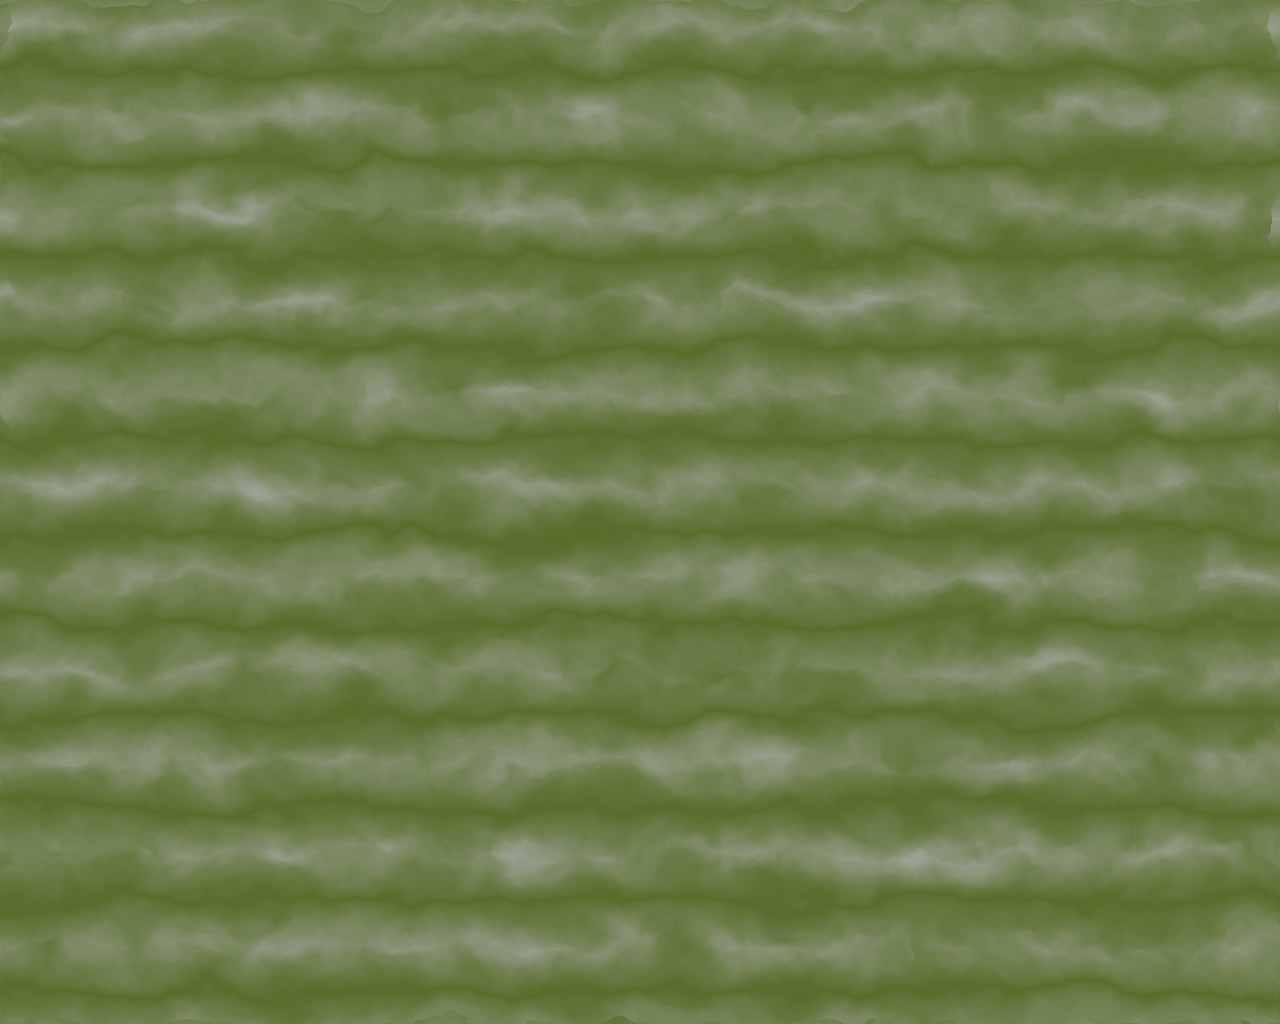
to
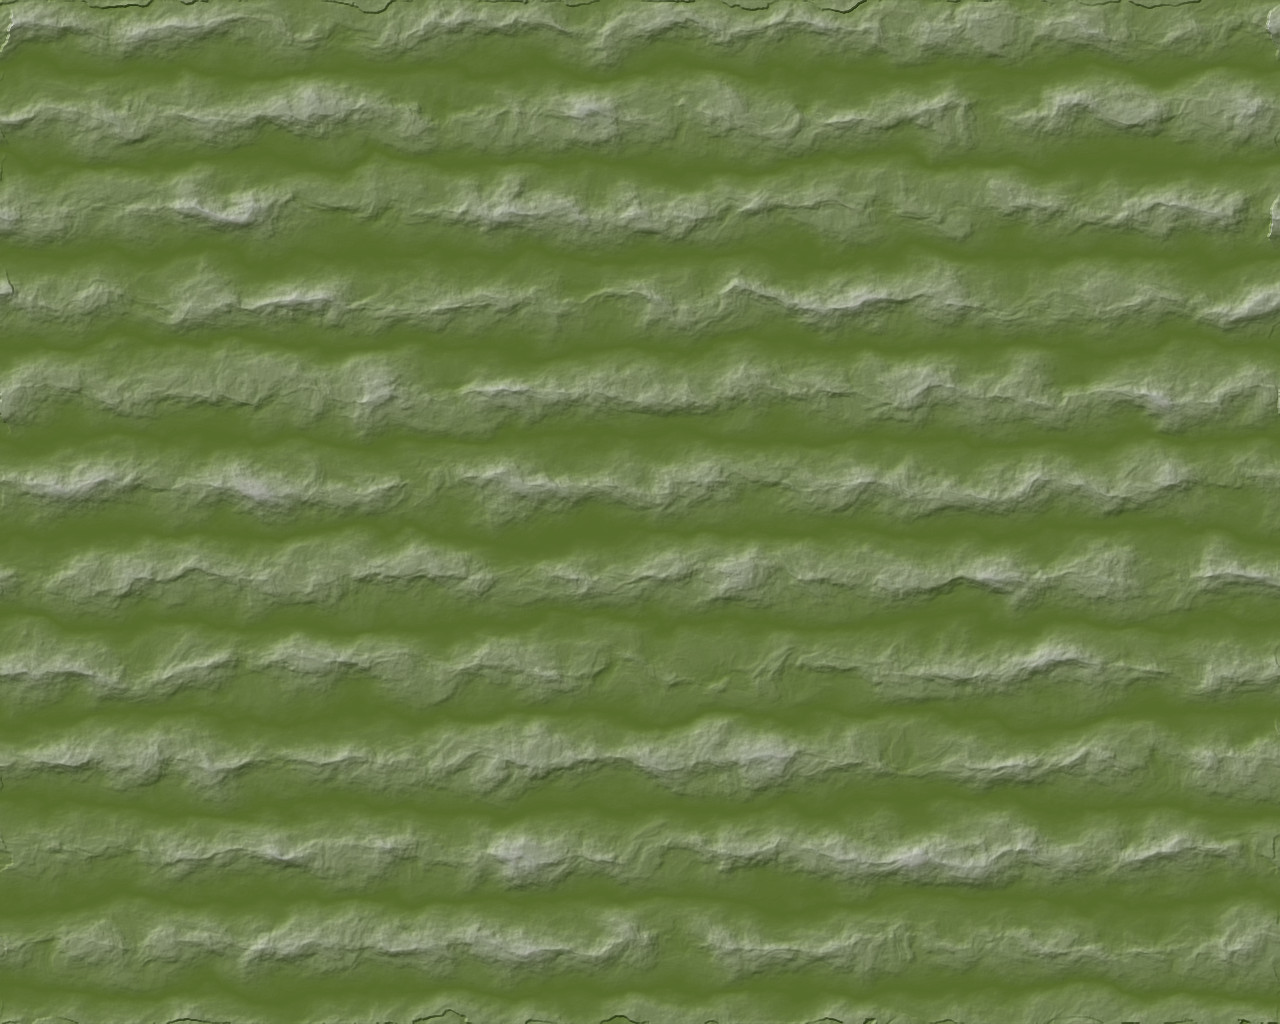
and it is pretty evident what bump maps do.
Displacement Map
Displacement maps are another major tool. This tool uses two input layers (I use different ones, but they can be the same) to determine how to displace the pixels in the image. One input layer indicates how much to copy each pixel from the east or west, the other from the north or south (0.5 = source is the same as the destination, <0.5 might mean ‘take from that far east’ or ‘take from that far west, >0.5 means the opposite… or north or south, for the other axis). There is a ‘polar displacement’ option, but I didn’t use it today.
This is what takes the mountain images from
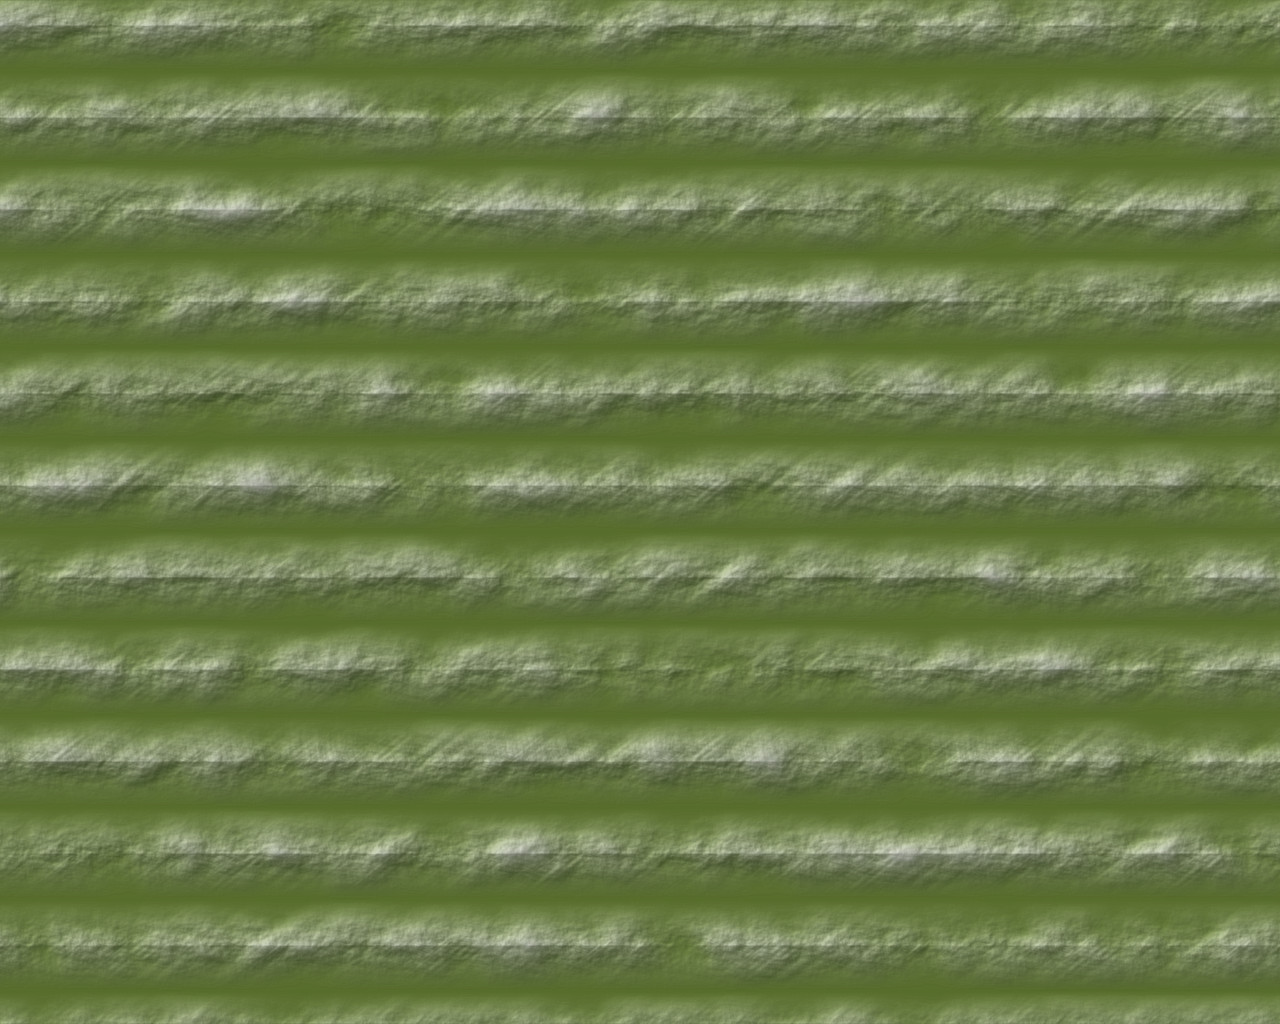
to
A bit of displacement covers a lot of artifacting (such as the striations shown in the ‘multiplied’ image, second above, which are an artifact of the noise generator I used).
Solid Noise Clouds
I used a ‘solid noise cloud renderer’ to give me three layers of coherent noise (meaning overall the values range from 0..1 ‘randomly’, but nearby pixels have similar values). One is used to adjust the height map, the other two are used as inputs to the displacement mapping.
Pingback: Revisiting the Mountain Tutorial, Drawing the Initial Landform | In My Campaign - Thoughts on RPG design and play
Pingback: Several Mountain Ranges Together | In My Campaign - Thoughts on RPG design and play
Pingback: Touching up the Mountain Colors | In My Campaign - Thoughts on RPG design and play